The monastery is a major location on the hidden island in Drake's Fortune. Located high up in the mountains, it was originally made by the Spanish, who constructed the treasure vault underneath it, where they stored El Dorado. It was used by Roman, Navarro, and their mercenaries as their main base of operation while in search of the treasure. It first is visited in "Sanctuary?", being the main location for the middle and last part of the game.
Drake's Deception features a Co-op Adventure map based on the monastery, titled "Monastery".
History[]
Prior to Drake's Fortune[]
Some four hundred years ago, the monastery was constructed by the Spanish as part of their new colony, creating a small village with a church, library, and graveyard. They also used the underground caverns to construct a treasure vault, where they hid El Dorado and the other gold and treasure taken from the Americas. At some point, the monastery was abandoned, with all of the Spanish either turned into descendants, or fallen prey to them.
Sir Francis Drake visited the monastery later, discovering the Spanish' secret treasure vault, where he ultimately perished. Later, during or prior to World War II, the Nazis constructed a bunker underneath the monastery, and also moved El Dorado to a new cavern underneath the graveyard.
Drake's Fortune[]
Nate and Elena eavesdropping on Sullivan.
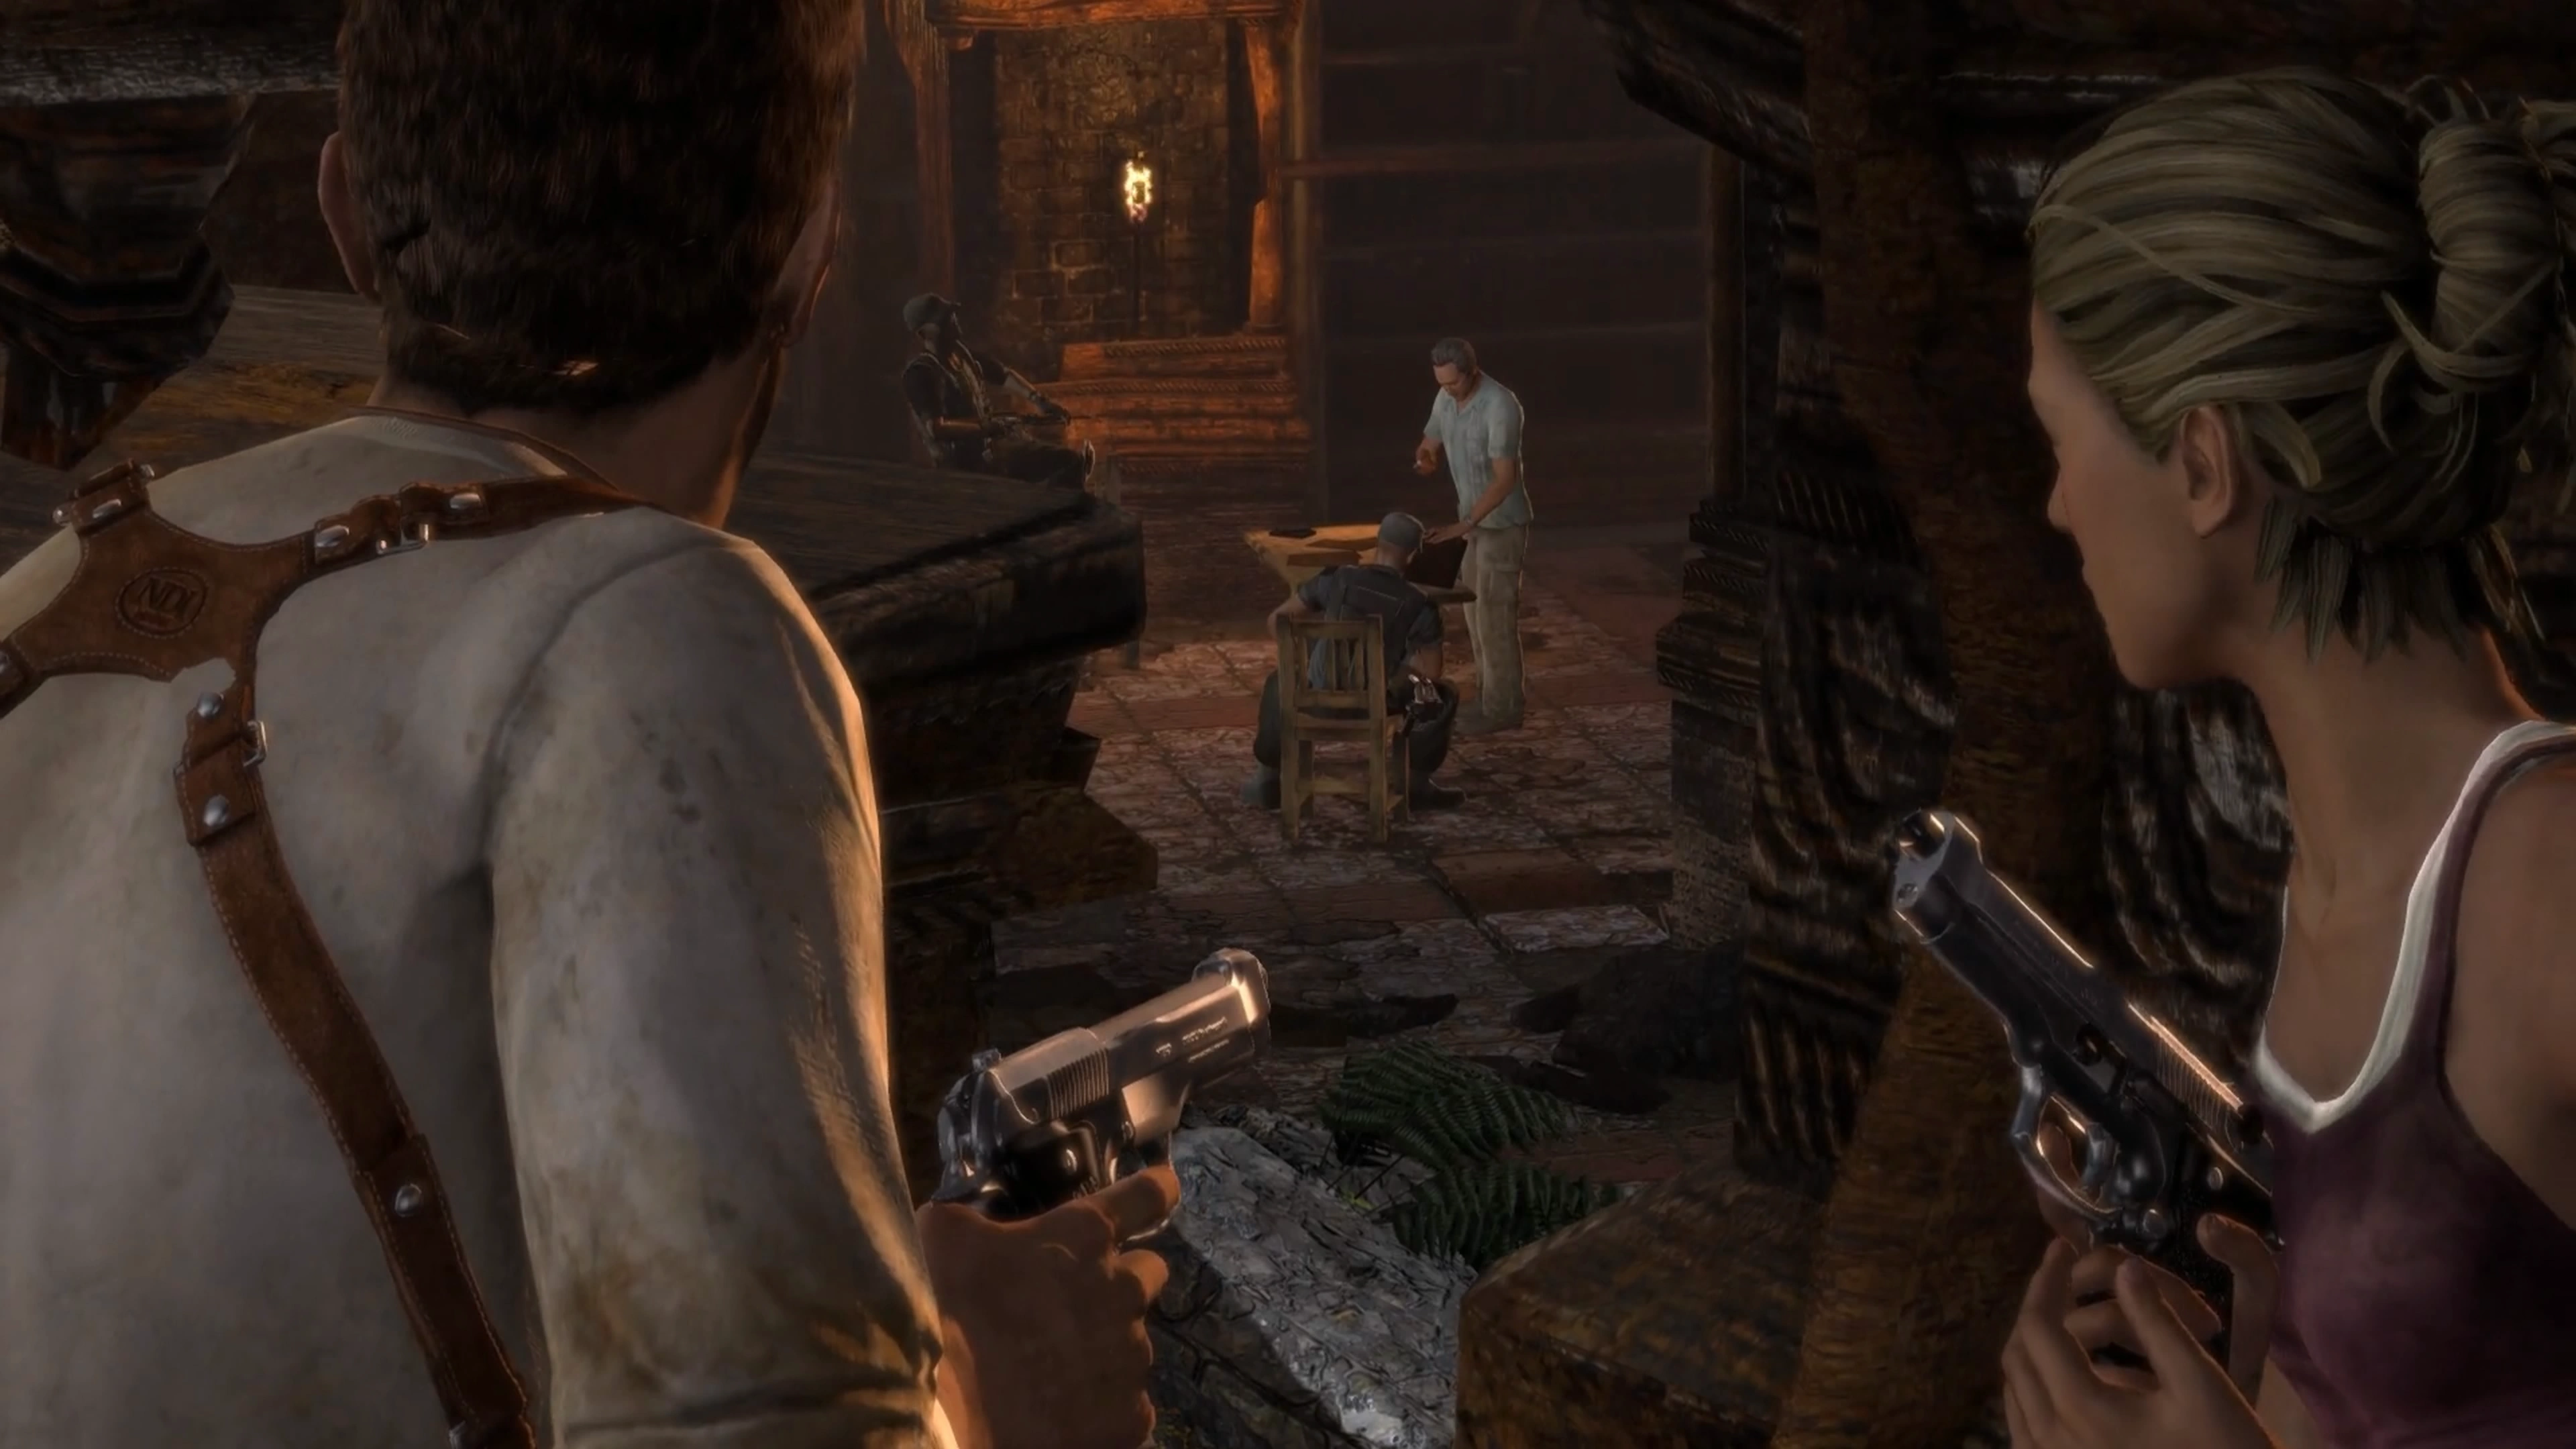
Nate and Elena first decided to head to the monastery in "Trapped", after witnessing an alive Victor Sullivan being taken by Roman and Navarro on-board a helicopter headed for the mountains. They arrived in "Sanctuary?" and quickly found a captive Sullivan, whom they rescued. He explained he was supposed to help Roman and Navarro find El Dorado, but instead had sent them on a red herring. Deciding the try and find the treasure themselves they used Francis Drake's diary to discover a secret room and passage to the catacombs.
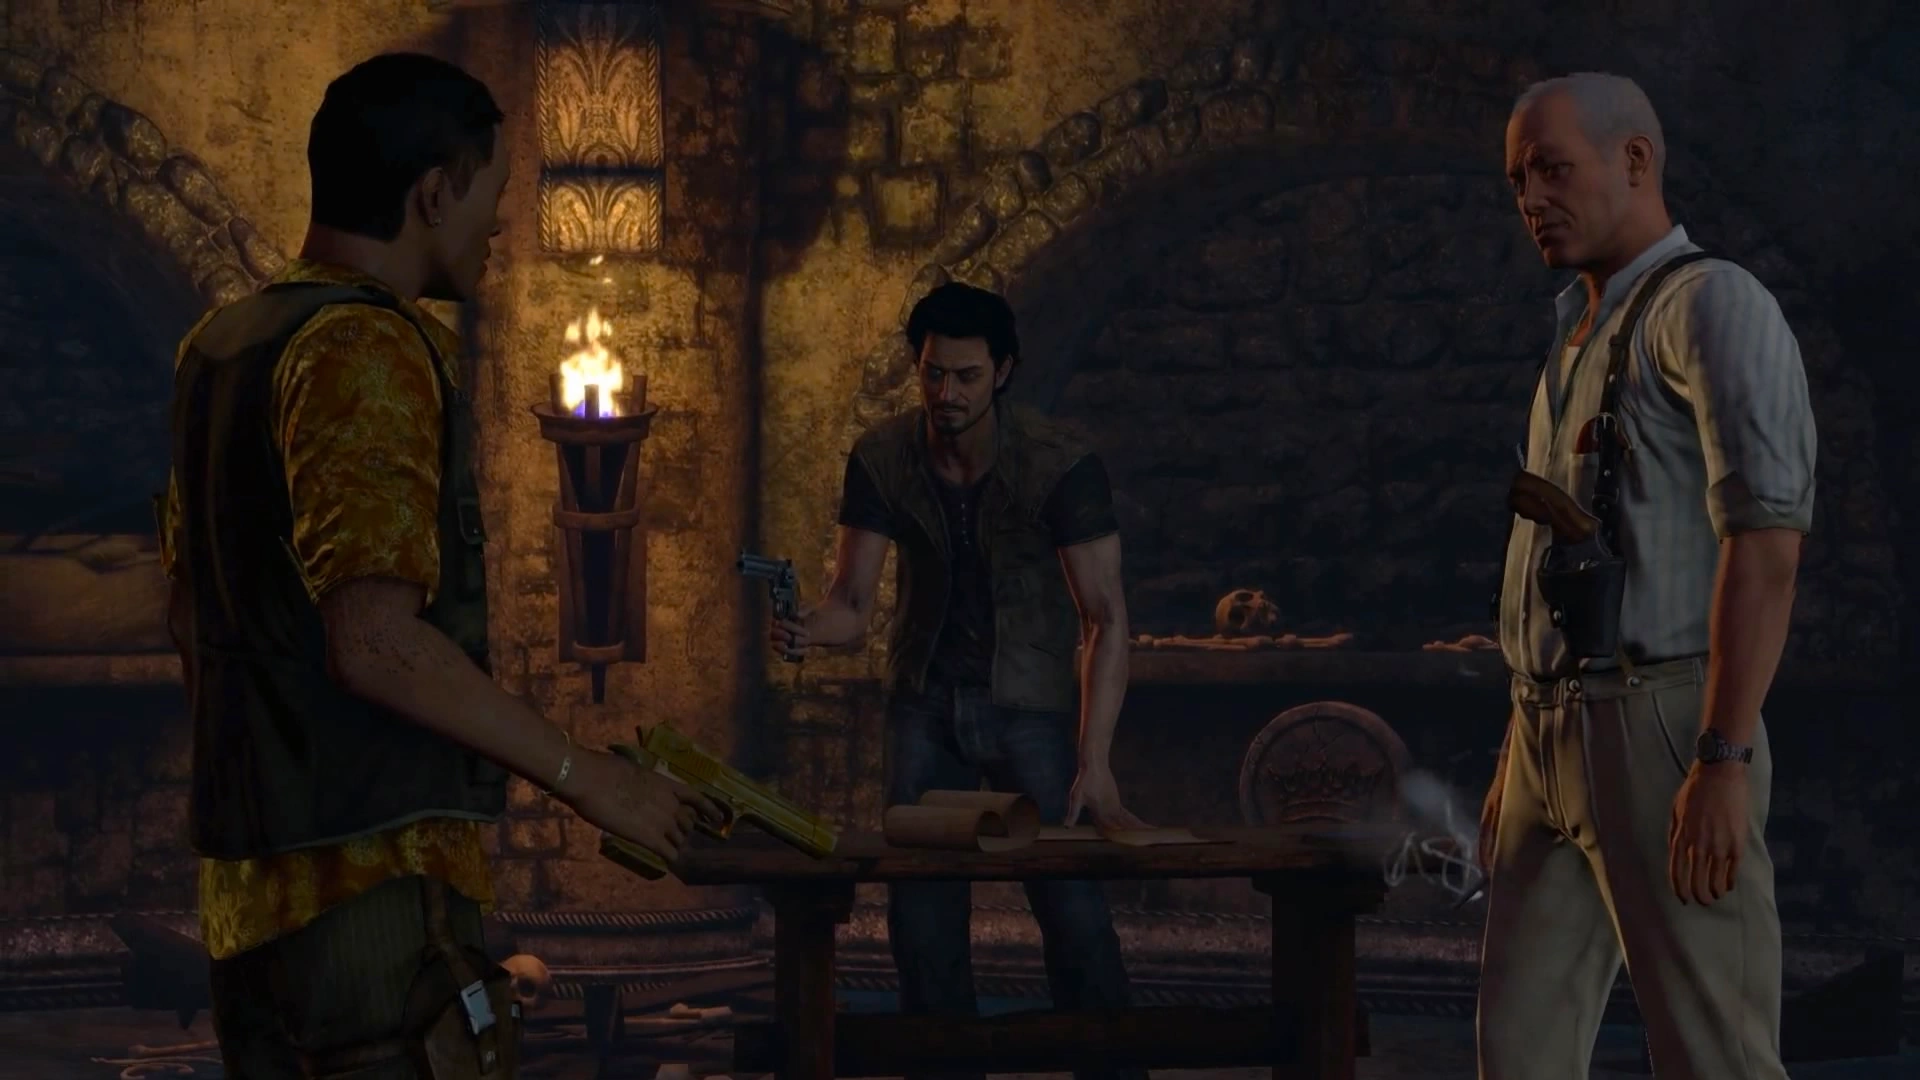
Eddy's conflict with Roman and Navarro.
Nate explored the underground area in "Going Underground", eventually resurfacing in the church, where he solved a bell puzzle to gain access to another hidden underground tunnel. Underneath a mausoleum he overheard a conversation between Roman, Navarro, and Eddy Raja, who got fired due to his failures to eliminate Drake. In "On the Trail of the Treasure" Sully sent Nate word of a hidden gallery in the church, which Nate uncovered, after which he found out that the entrance to the vault was inside the mausoleum.
Relaying this to Sully and Elena, they went and made a distraction to lure Roman and Navarro away, allowing Nate to eliminate the remaining mercenaries and clear the path for his friends before they descended into the vault, accidentally leaving Sully behind at the last second.
Navarro and Elena watch as Roman is about to open the sarcophagus.
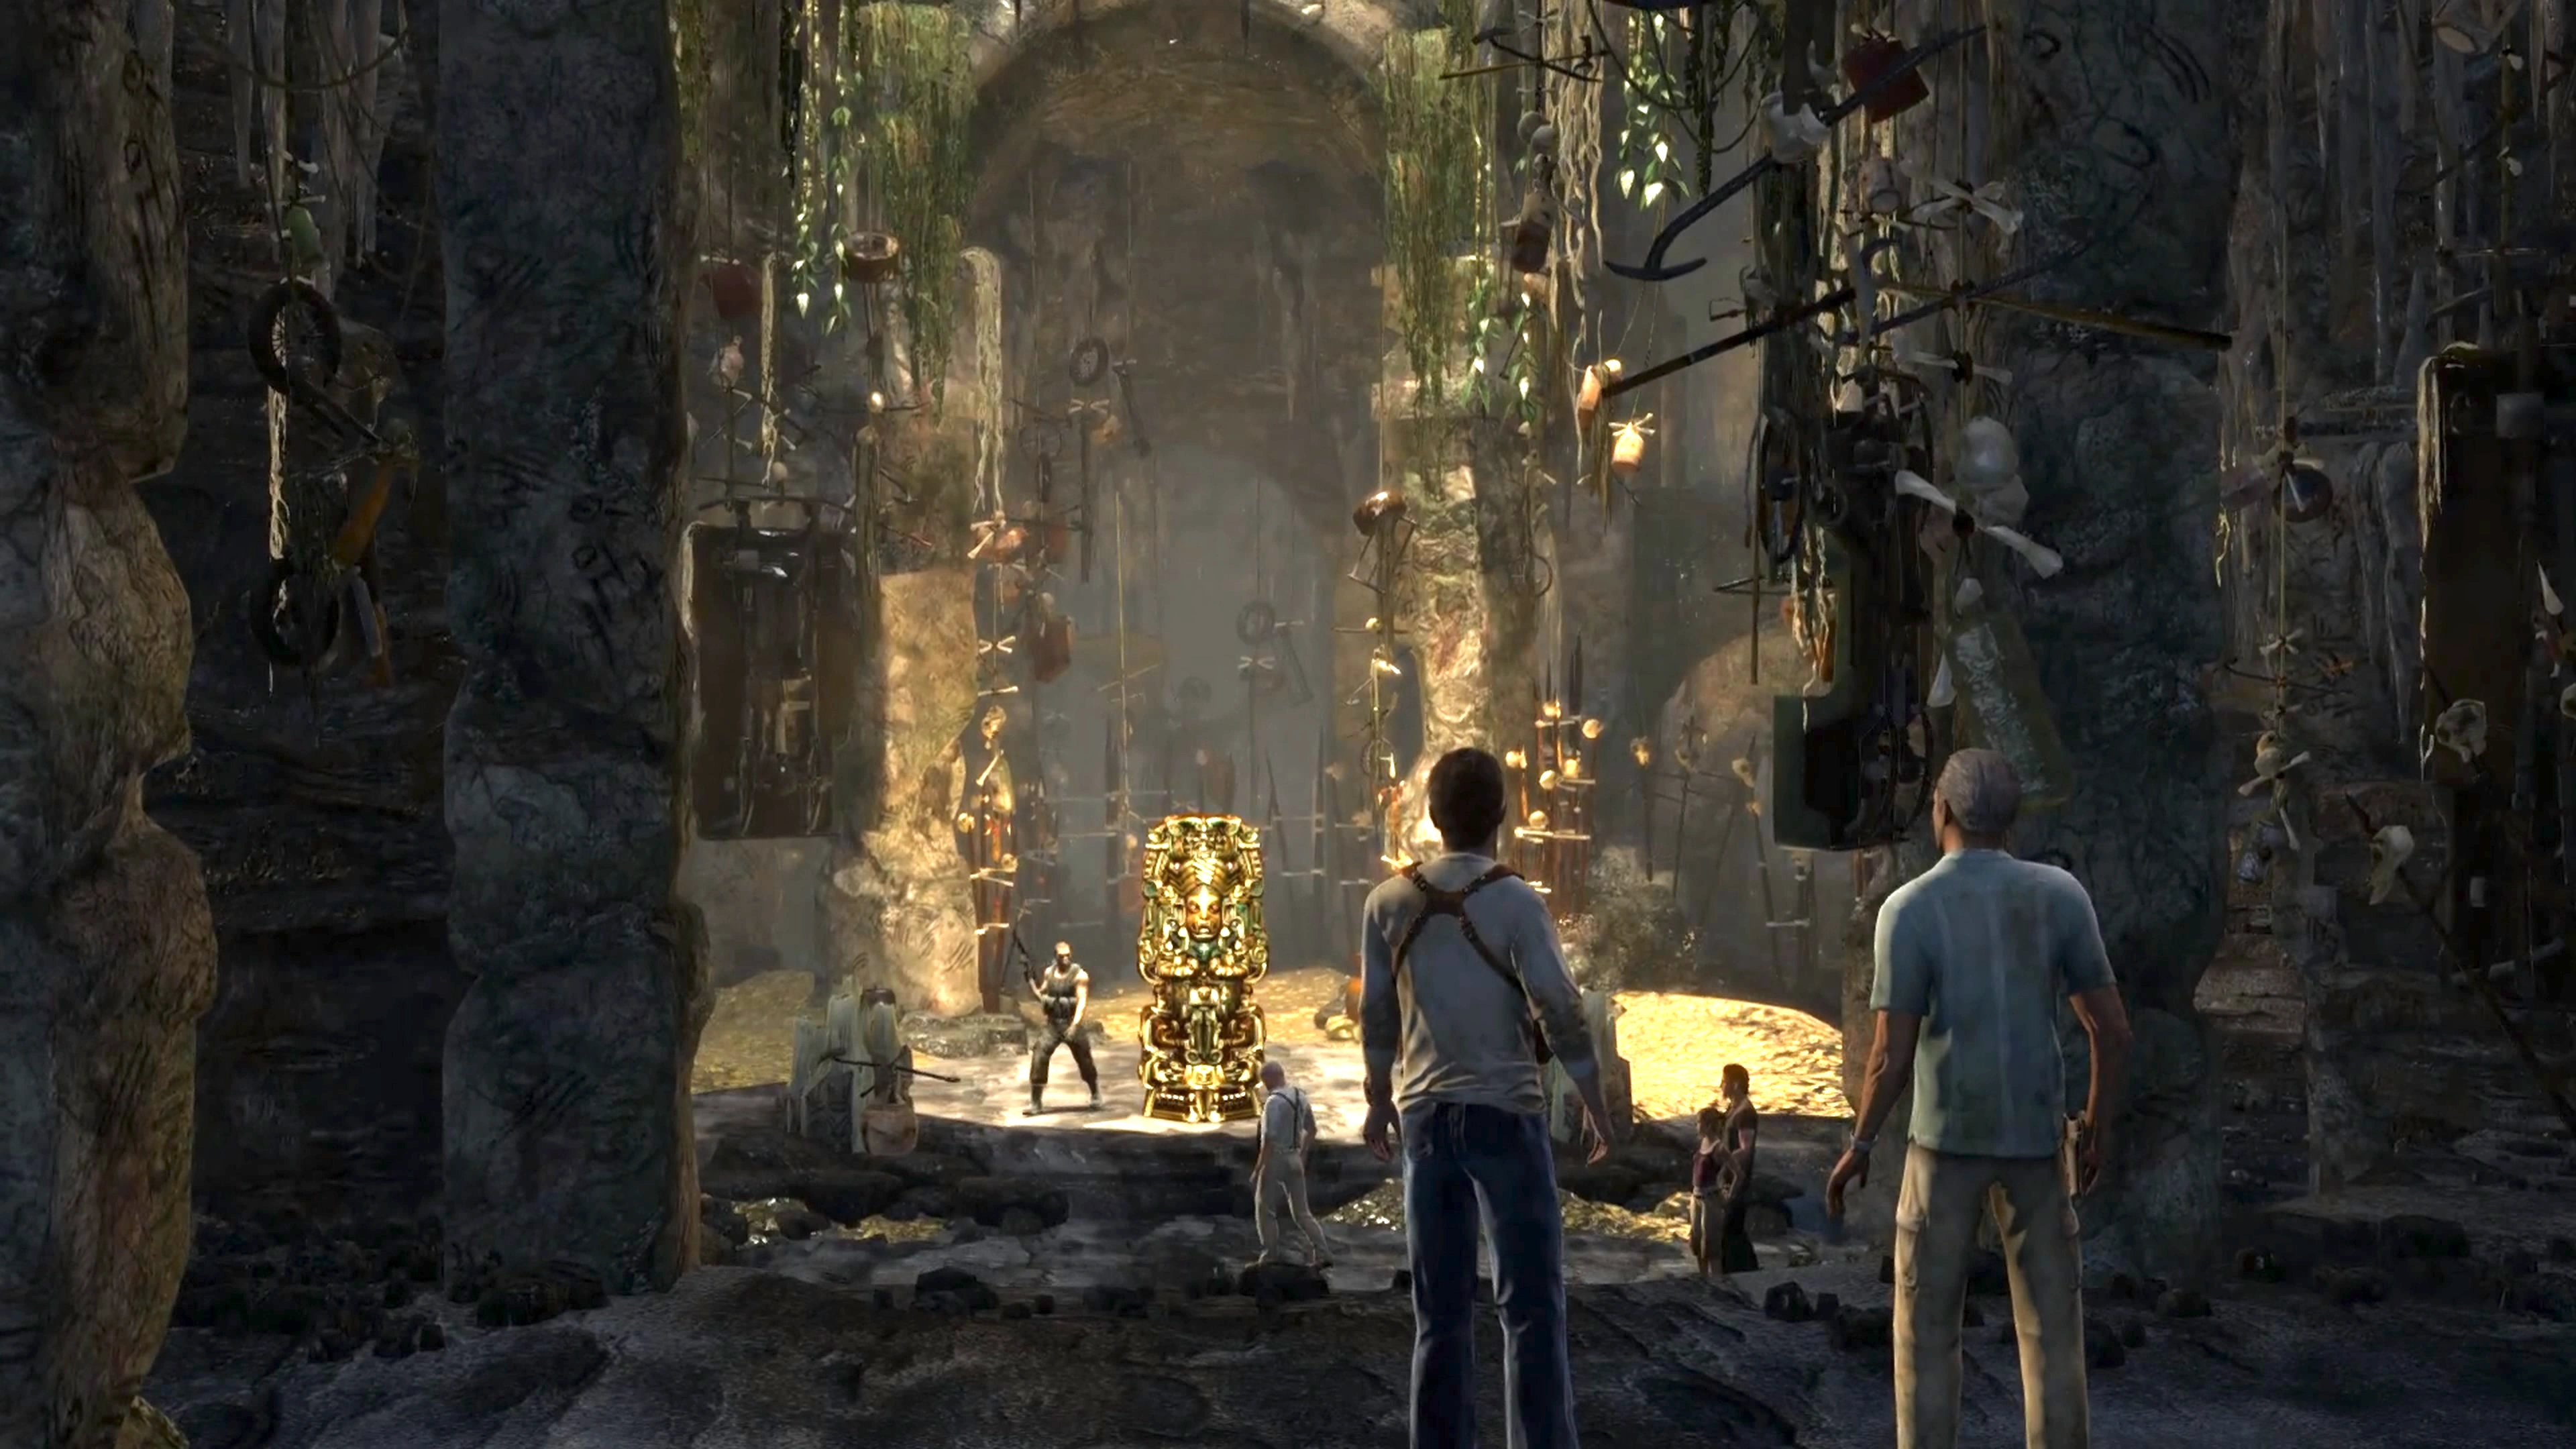
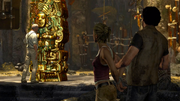
In "Race to the Rescue" Nate eventually resurfaced alone, as Elena was taken hostage, and met up with Sully, rescuing him from a large group of mercenaries. Nate explained that El Dorado was cursed and that they had to rescue Elena and stop Roman and Navarro from taking the treasure. They accessed the second secret passage in the church, underneath the altar, and during "Gold and Bones" witnessed Navarro betray Roman, tricking him into opening the El Dorado sarcophagus. After killing Roman Navarro had his men lift El Dorado with a helicopter to his ship, until the descendants suddenly arrived.

Nate hitches a ride on the net of the statue.
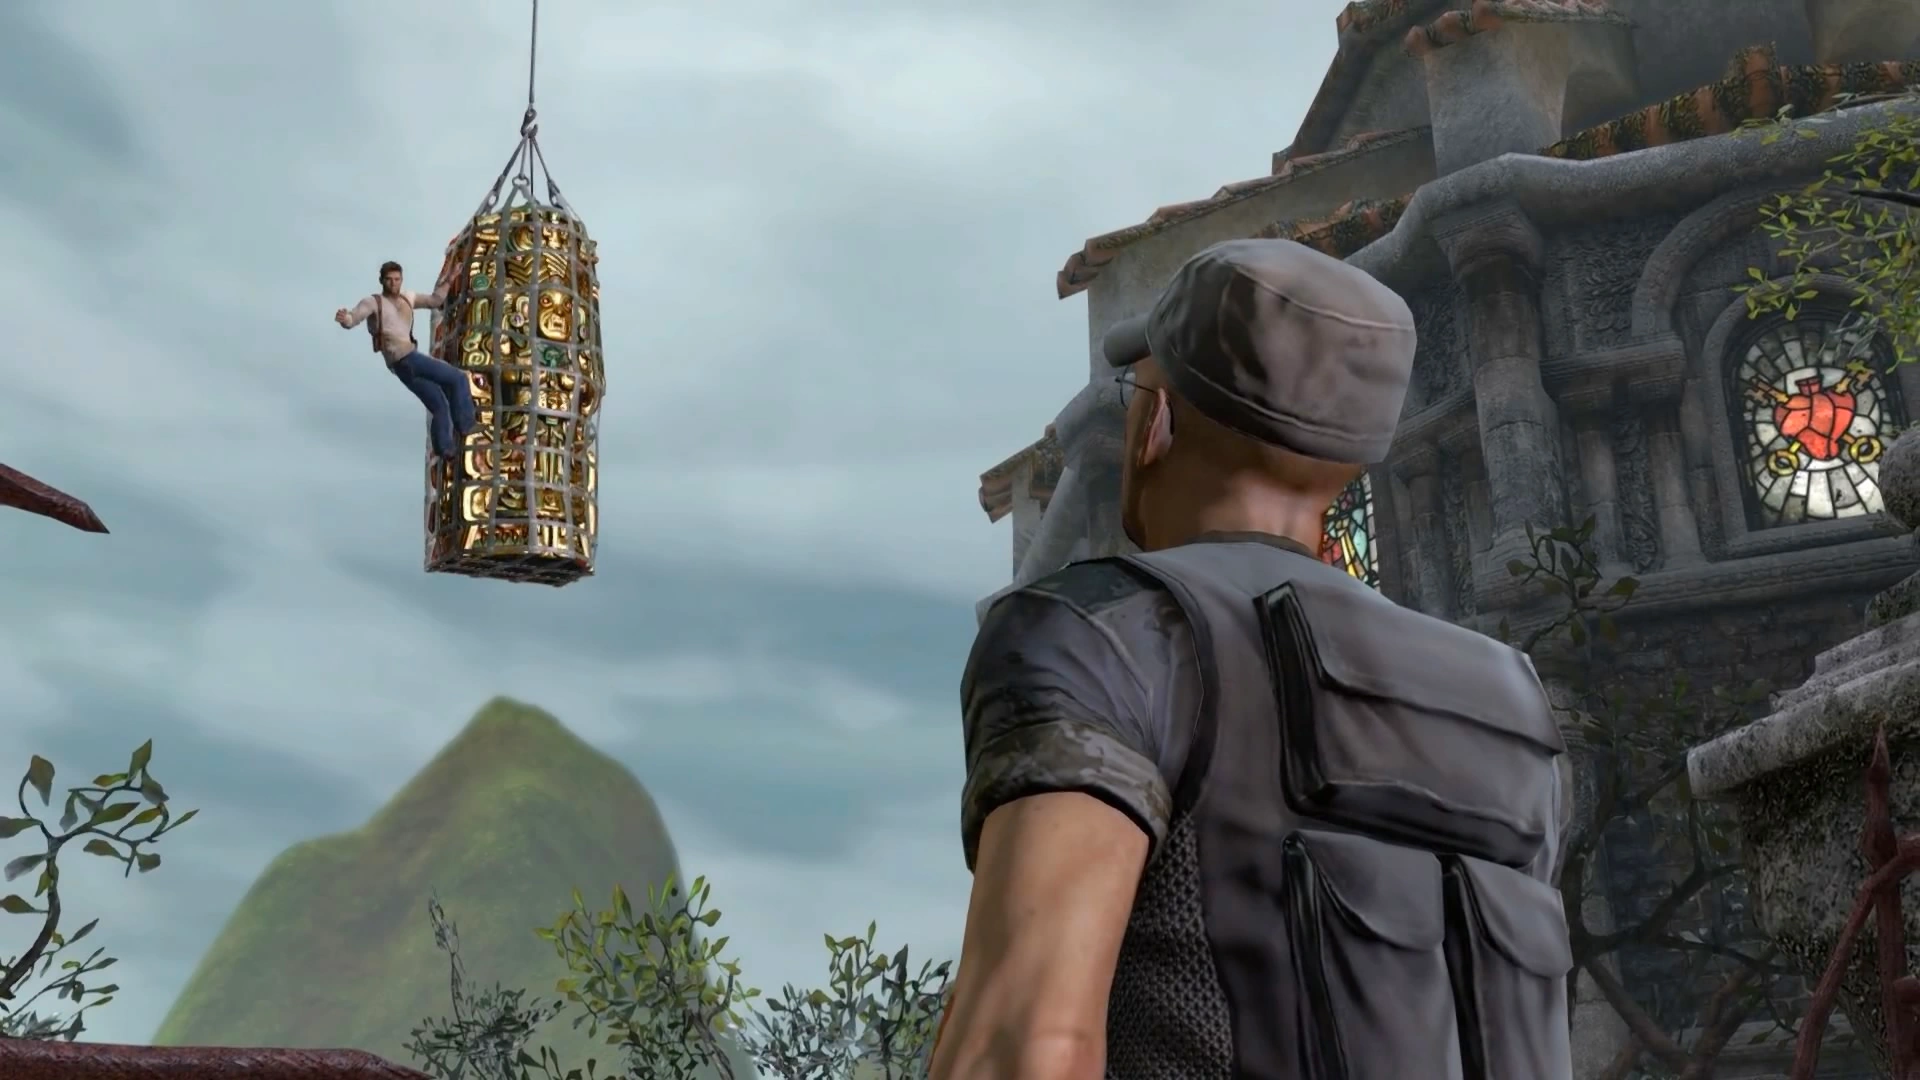
Nate and Sully managed to free themselves when the descendants appeared, distracting the mercenaries holding them at gunpoint. Navarro fled with Elena, forcing Nate to chase after them, only managing to jump onto the golden sarcophagus and hold onto the net that was being used to lift it. He then left the monastery behind as the helicopter took him away.
Geography[]
Overview[]
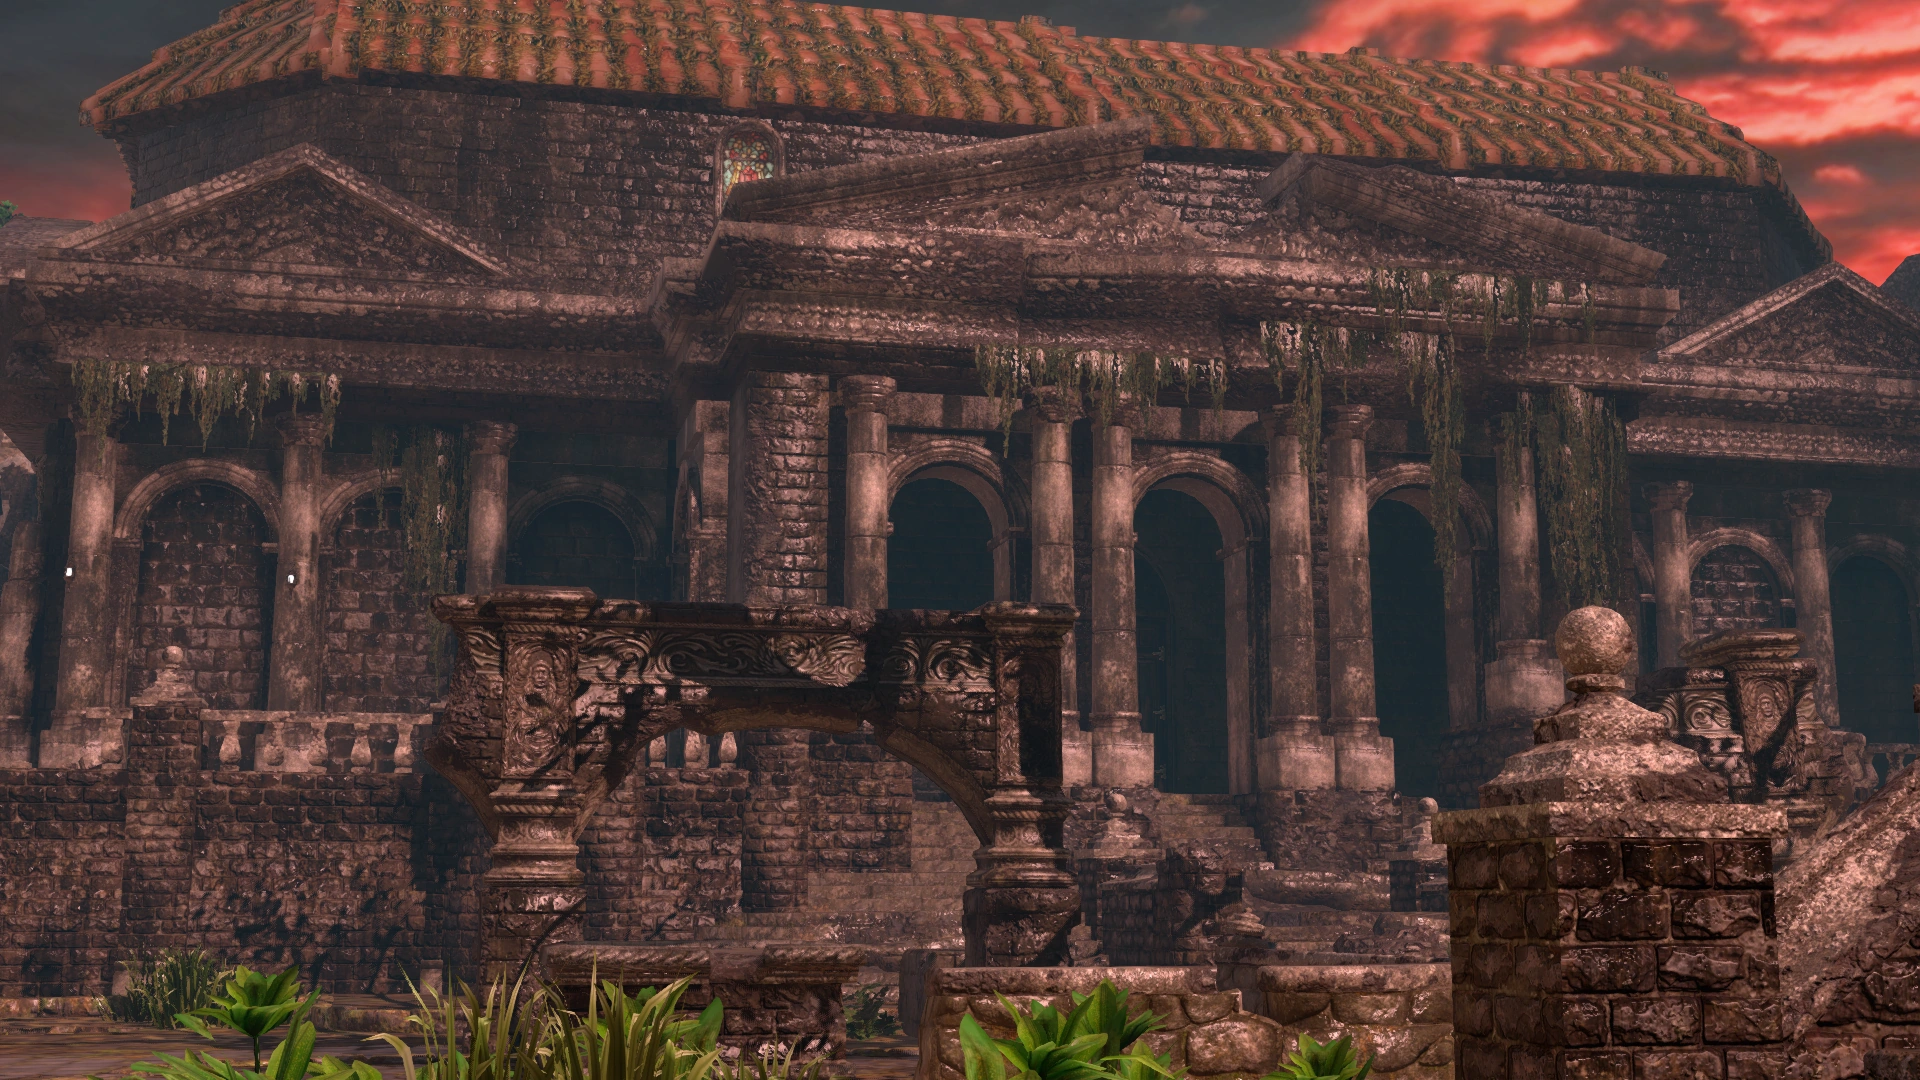
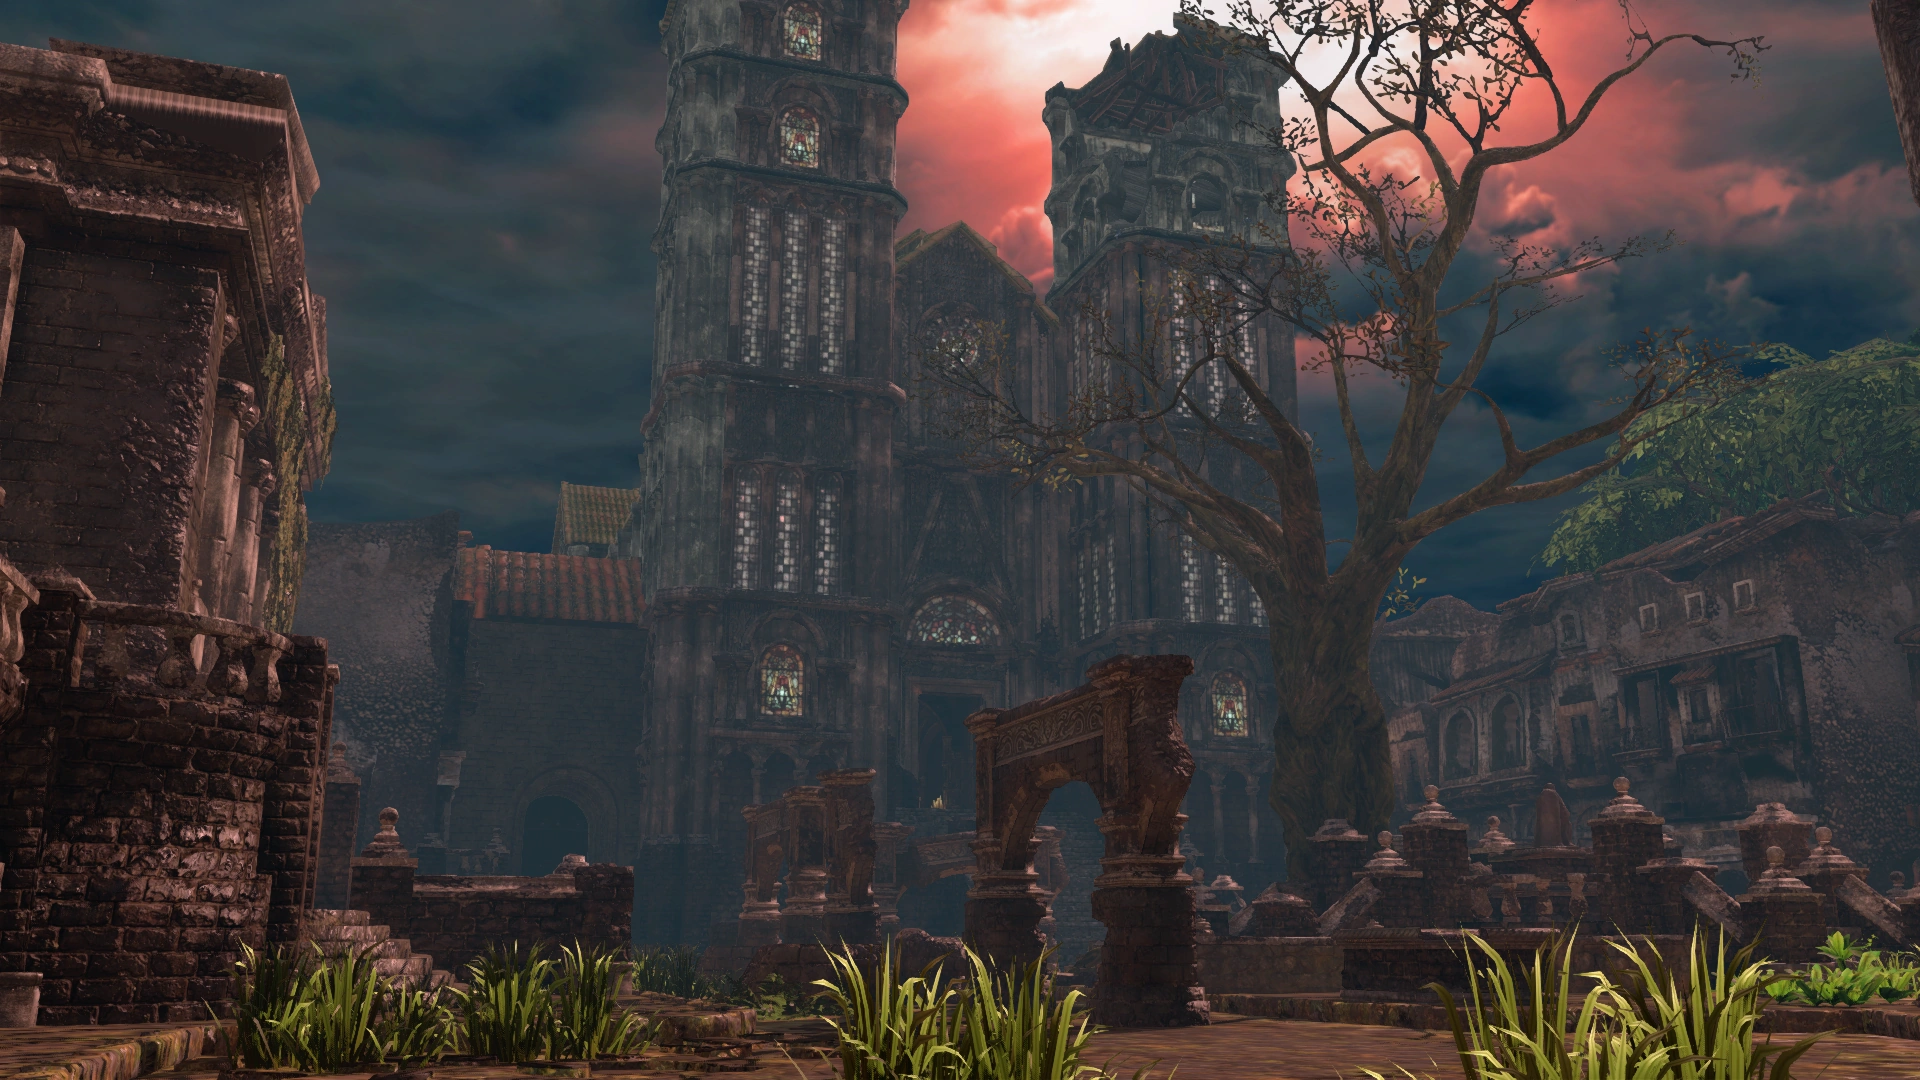
The monastery is situated in the northwest area of the island, constructed amidst a small mountain range. It can be reached by going uphill on a large river, which itself leads past the Drowned City. At the end of the river is a long stone staircase, leading uphill through the jungle, which ends at a large structure. Past it is the main plaza, a large open area, surrounded by the church, library, and a row of tall houses. The houses are noticeably more derelict than the other structures, but they remain standing at around three to four stories tall on average.
First structure[]
The first courtyard.
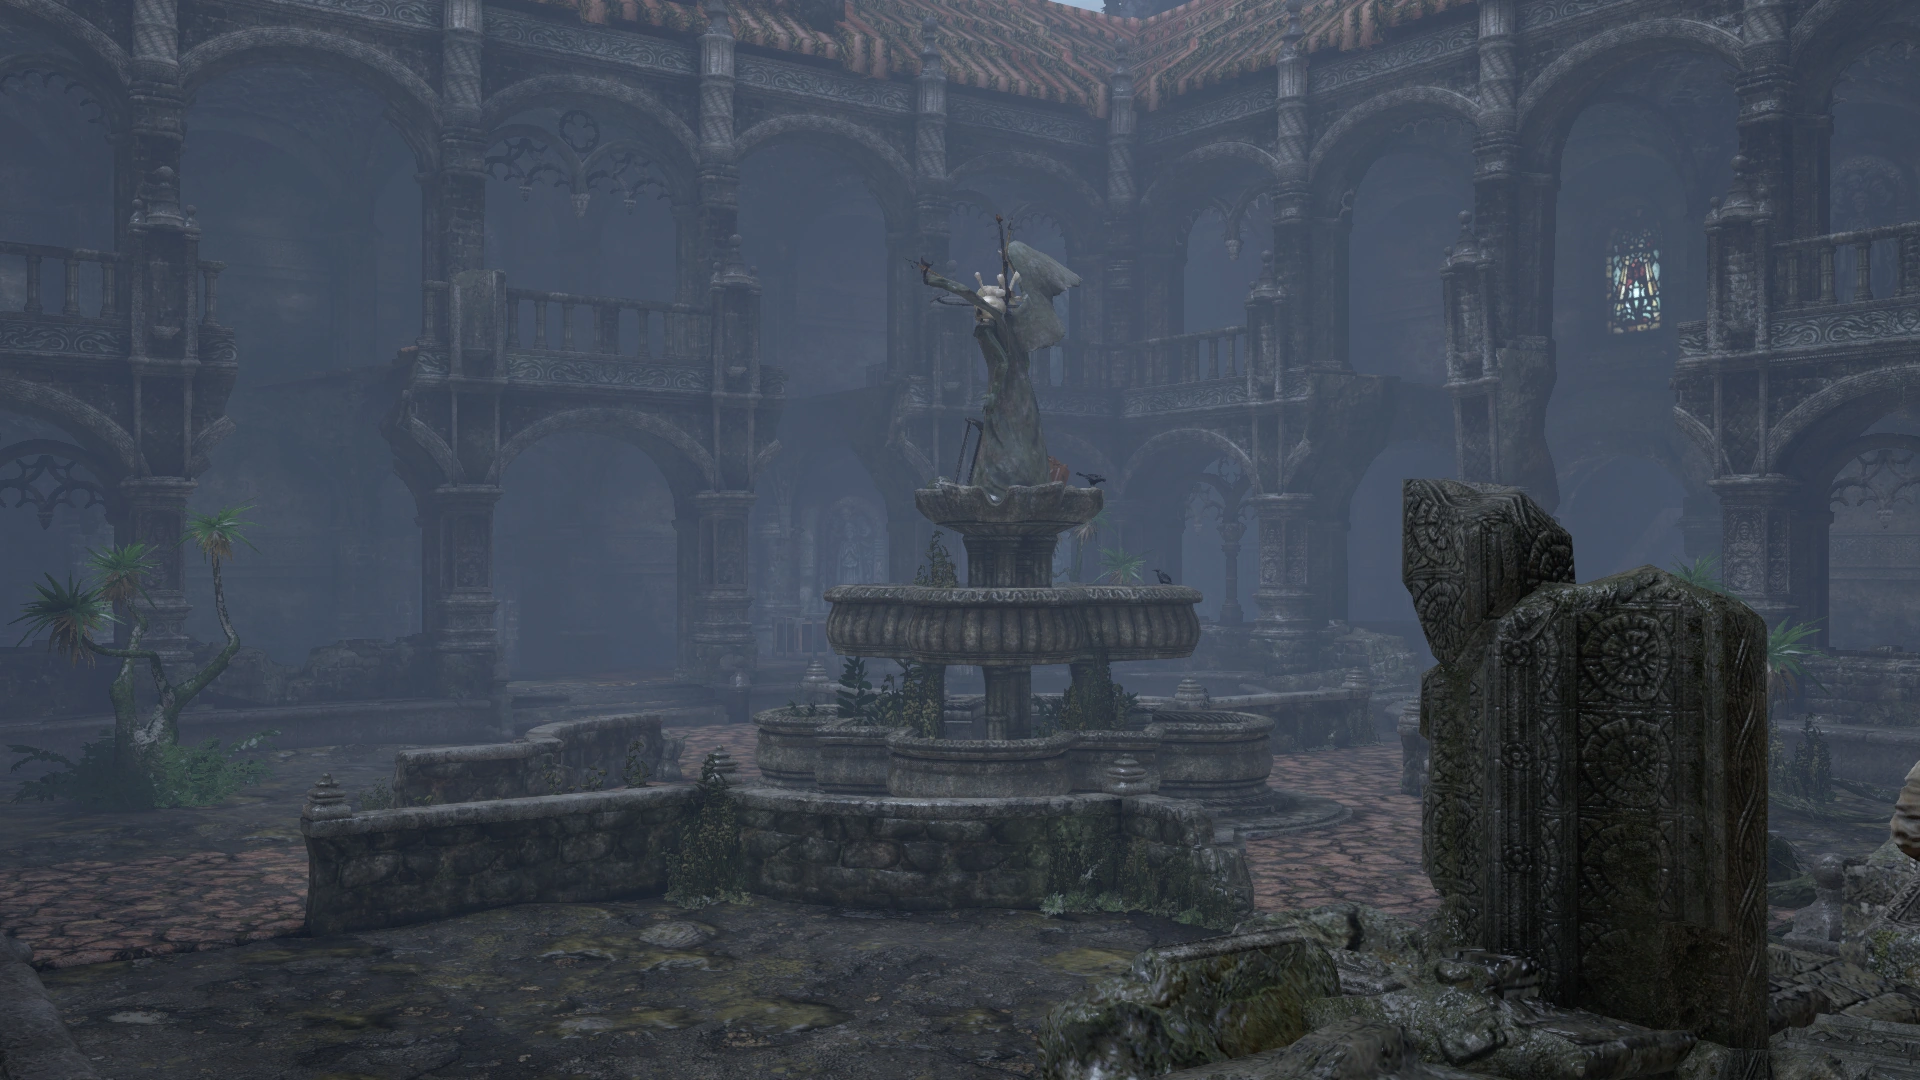
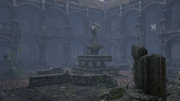
The first structure visited is a large square building centered around a courtyard. It only has two floors, with the second having mostly fallen down in places, with the remainder of the structure also having partially collapsed at the back end. There are numerous doors and gates to the interior, but most are locked or inaccessible. The courtyard itself is mostly empty, save for a single fountain with an angel statue, with several markers left by descendants on top. At the back of the structure is a small open space between it and the church, with a large gate leading to the plaza.
Main plaza[]
The main plaza.
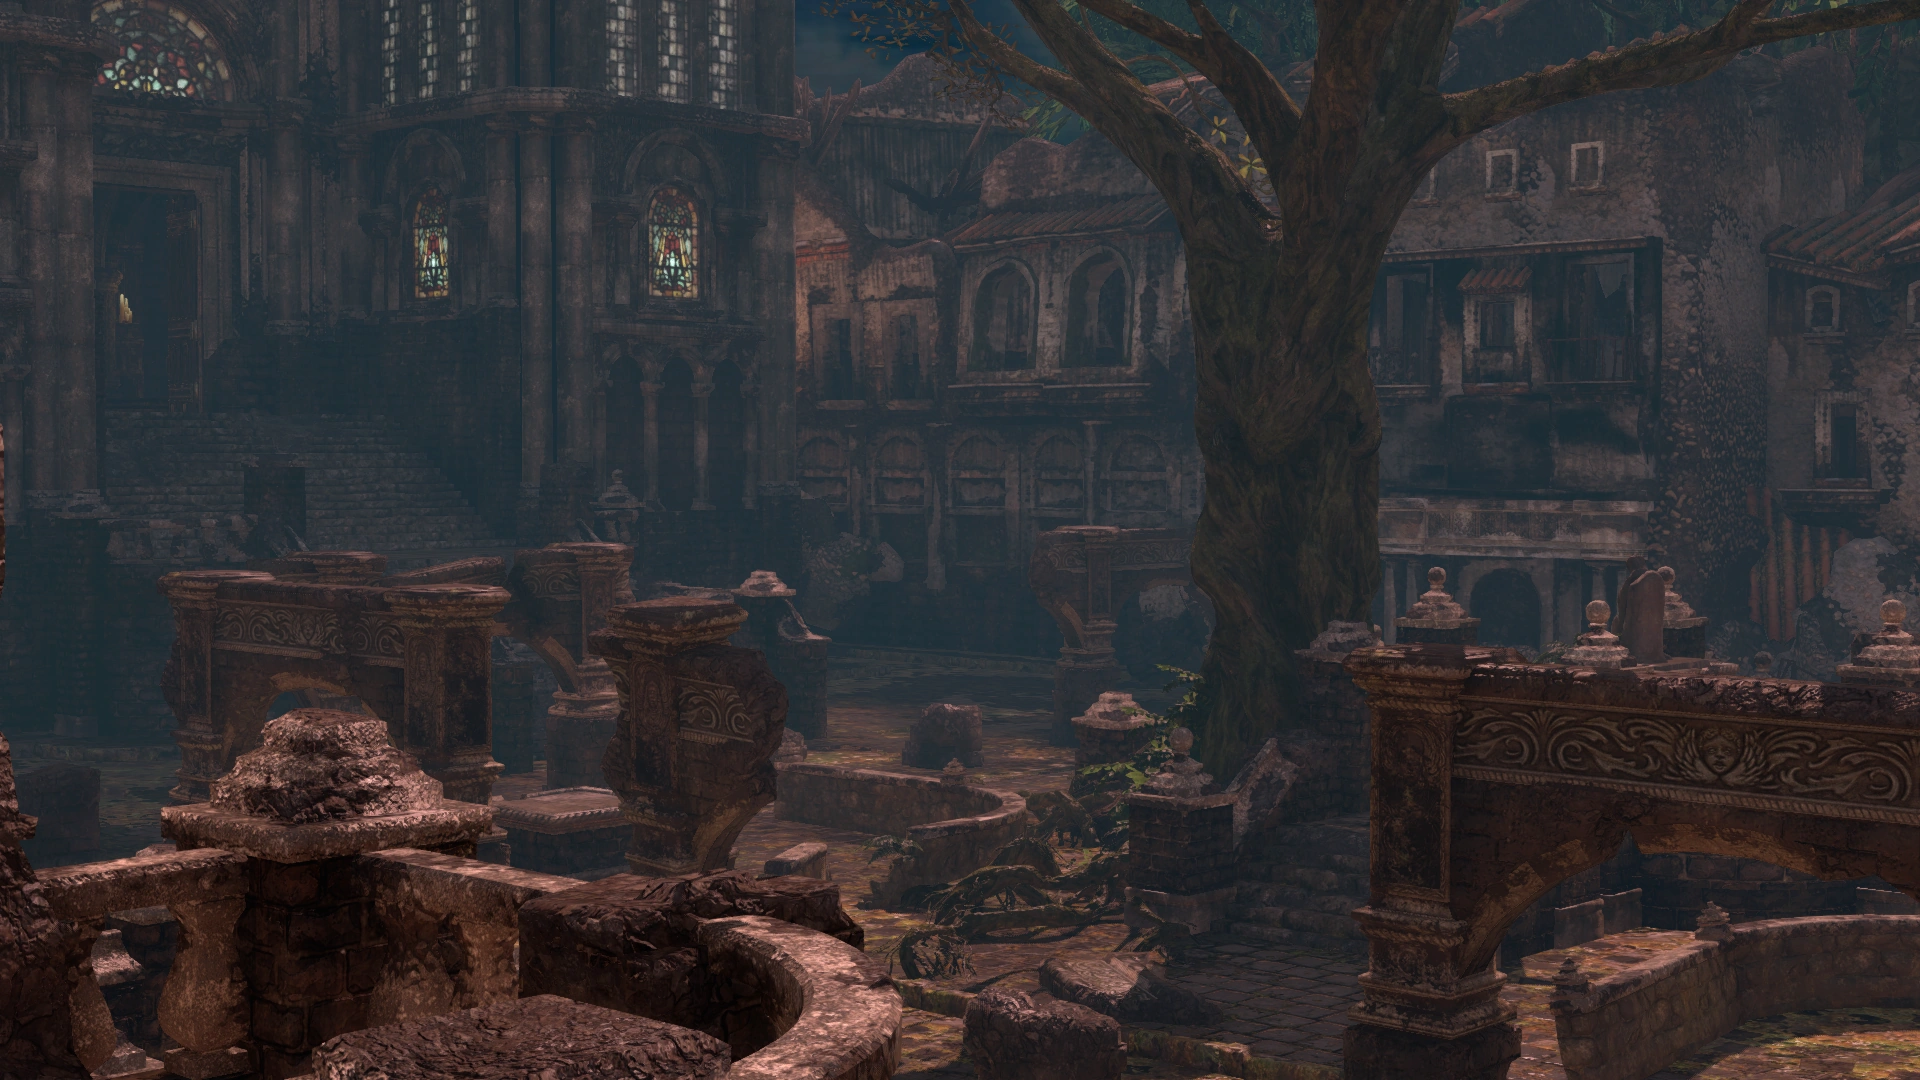
The main plaza is a large and open area, with a massive and ancient tree in the center. Several stone pillars and archways surround it, with most of it no longer standing or altogether there anymore. The south end of the plaza features the front end of the church, to the left of it is a blocked passage. The east side is where the library is located, with between the two buildings the passage leading to the first structure. The northeast corner holds another blocked passage, and on the north side stands a noticeably tall tower of around five to six stories tall. The west end is a simple row of smaller-sized structures, which continue past a tunnel on the northwest end. The tunnel leads to a dead-end, past which is the exit to the Nazi bunker, as well as a radio tower.
Library[]

The library.
The library is a large chamber, lined with bookcases. It has a large walkway filling in as a second floor, spread around the entire wall of the room, with a few ladders allowing a way up and down. It is supported by pillars and has a wooden railing lining the inner side. Part of the ceiling has collapsed, with a pile of rubble being located near the door. In the middle of the room stand four large bookcases, face one another, with on top of each a statue. The statues function as part of a puzzle, and rotating them all in the right direction will reveal a fake wall leading to a hidden room, set underground. It contains more bookcases, as well as a few paintings. Two torches on the wall can be rotated, which reveals another secret passage, leading into the catacombs.
Catacombs[]
The underground catacombs.
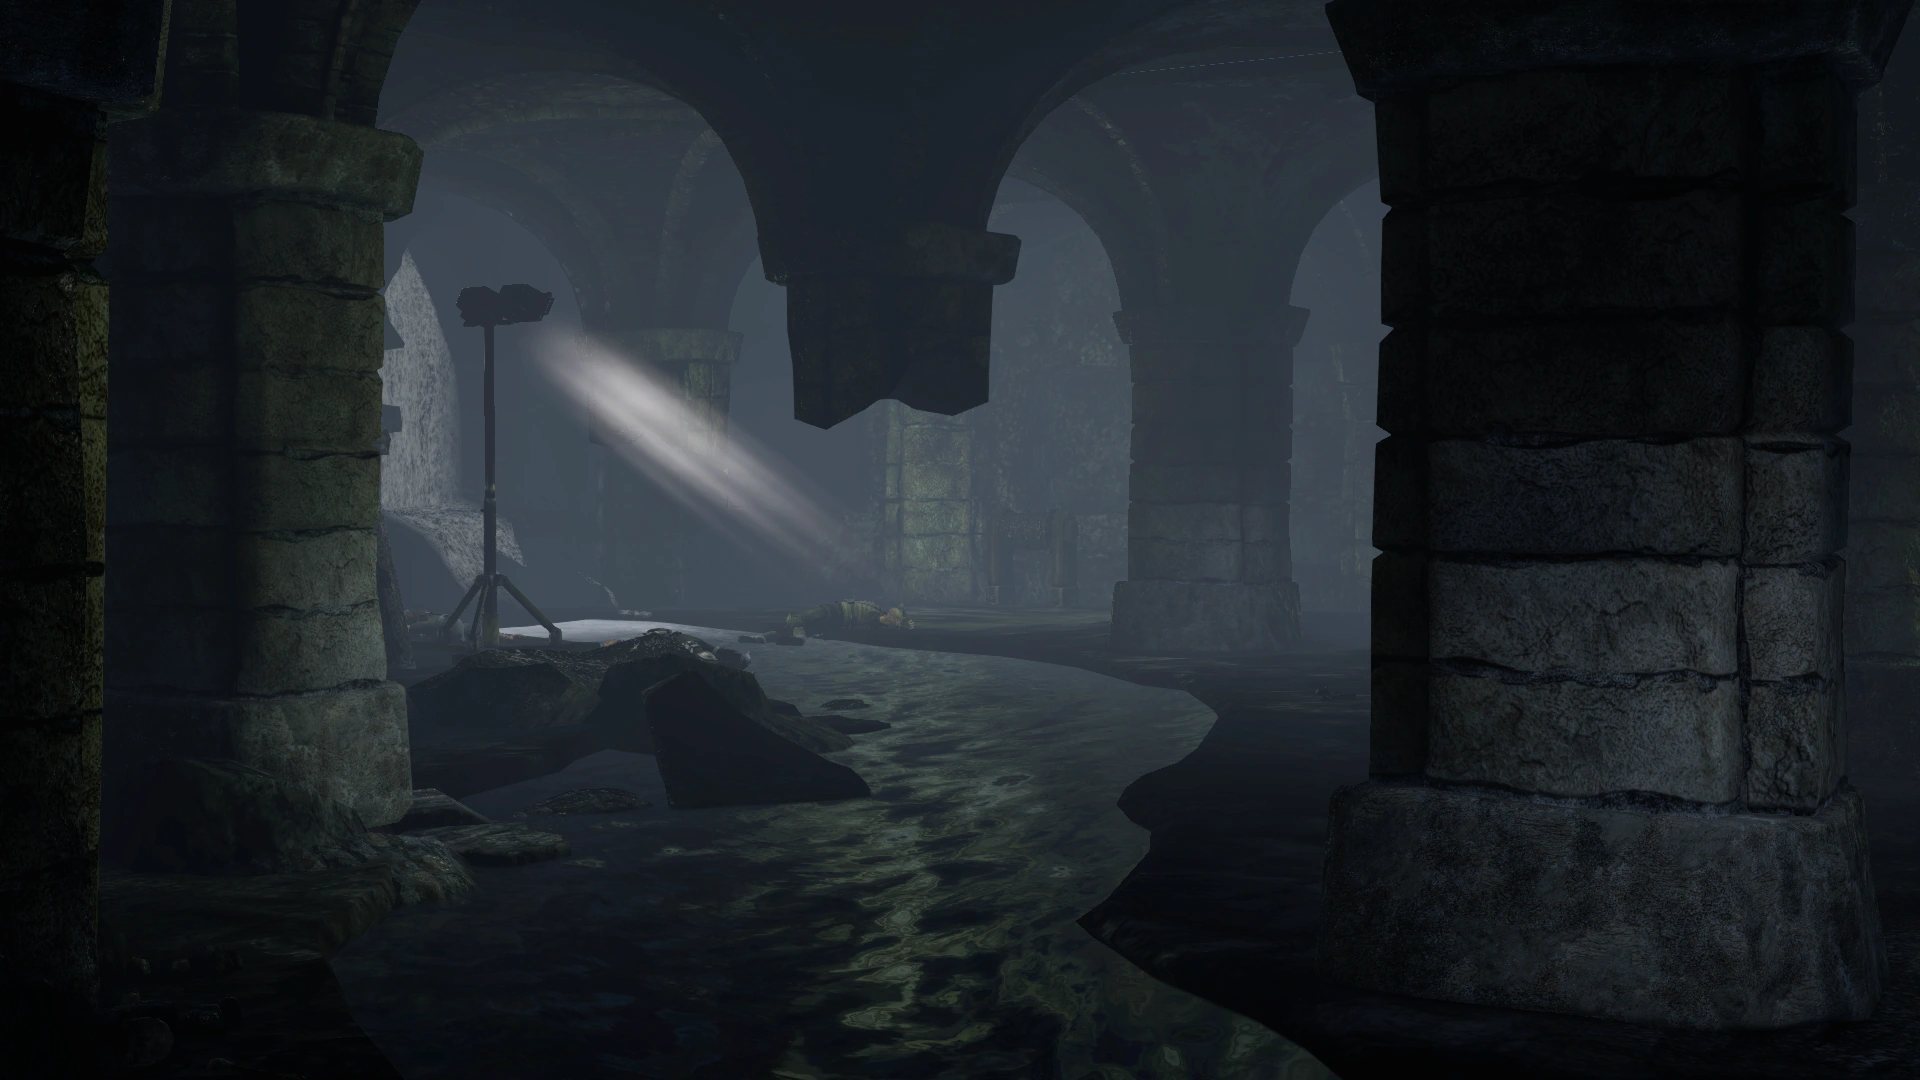
The catacombs are subterranean passageways and caverns located underneath the monastery, used as a burial ground by the Spanish. They contain many human remains, primarily skulls, but also sarcophagi and alcoves in the walls where bodies were laid to rest. The first entry to the catacombs was underneath the library, which led to a hatch inside the church. Inside the church was another hidden hatch, which only opened if both bells were rung at the same time, as discovered by Francis Drake. This second tunnel led underneath the graveyard, in particular the largest mausoleum, and exited into the back lot between the church and the graveyard.

Nate and Elena looking at a map of the cavern.
A second catacomb was located underneath the altar inside the church, also known as the 'lair'. Originally, it was a small collection of rooms leading to a large open cavern, which in itself was connected to the entire underground cave system. The Nazis decided to move El Dorado here, digging a hole into the graveyard, and using it to move the golden sarcophagus. With their demise, the descendants returned, treating the area as some kind of holy place, as is apparent in the large number of markers and trophies they have placed in the cave where El Dorado is located, including entire jeep frames taken from the Eddy Raja's pirates.
Church[]

The church.
The church is one of the main locations in the monastery, with a prominent place in the plaza where its two front towers are some of the tallest structures. The inside is mostly barren, with a large space that reaches to the ceiling, and only a floor with rows of pews. To the right of the entrance is one entrance to the catacombs, with another in the left wing, and a third underneath the altar at the back. There are two small wings, each of which houses a large bell. Although there is no second floor, there is an upper area above the entrance, and there are a number of planks and chandeliers that can be traversed to reach the area above the altar.
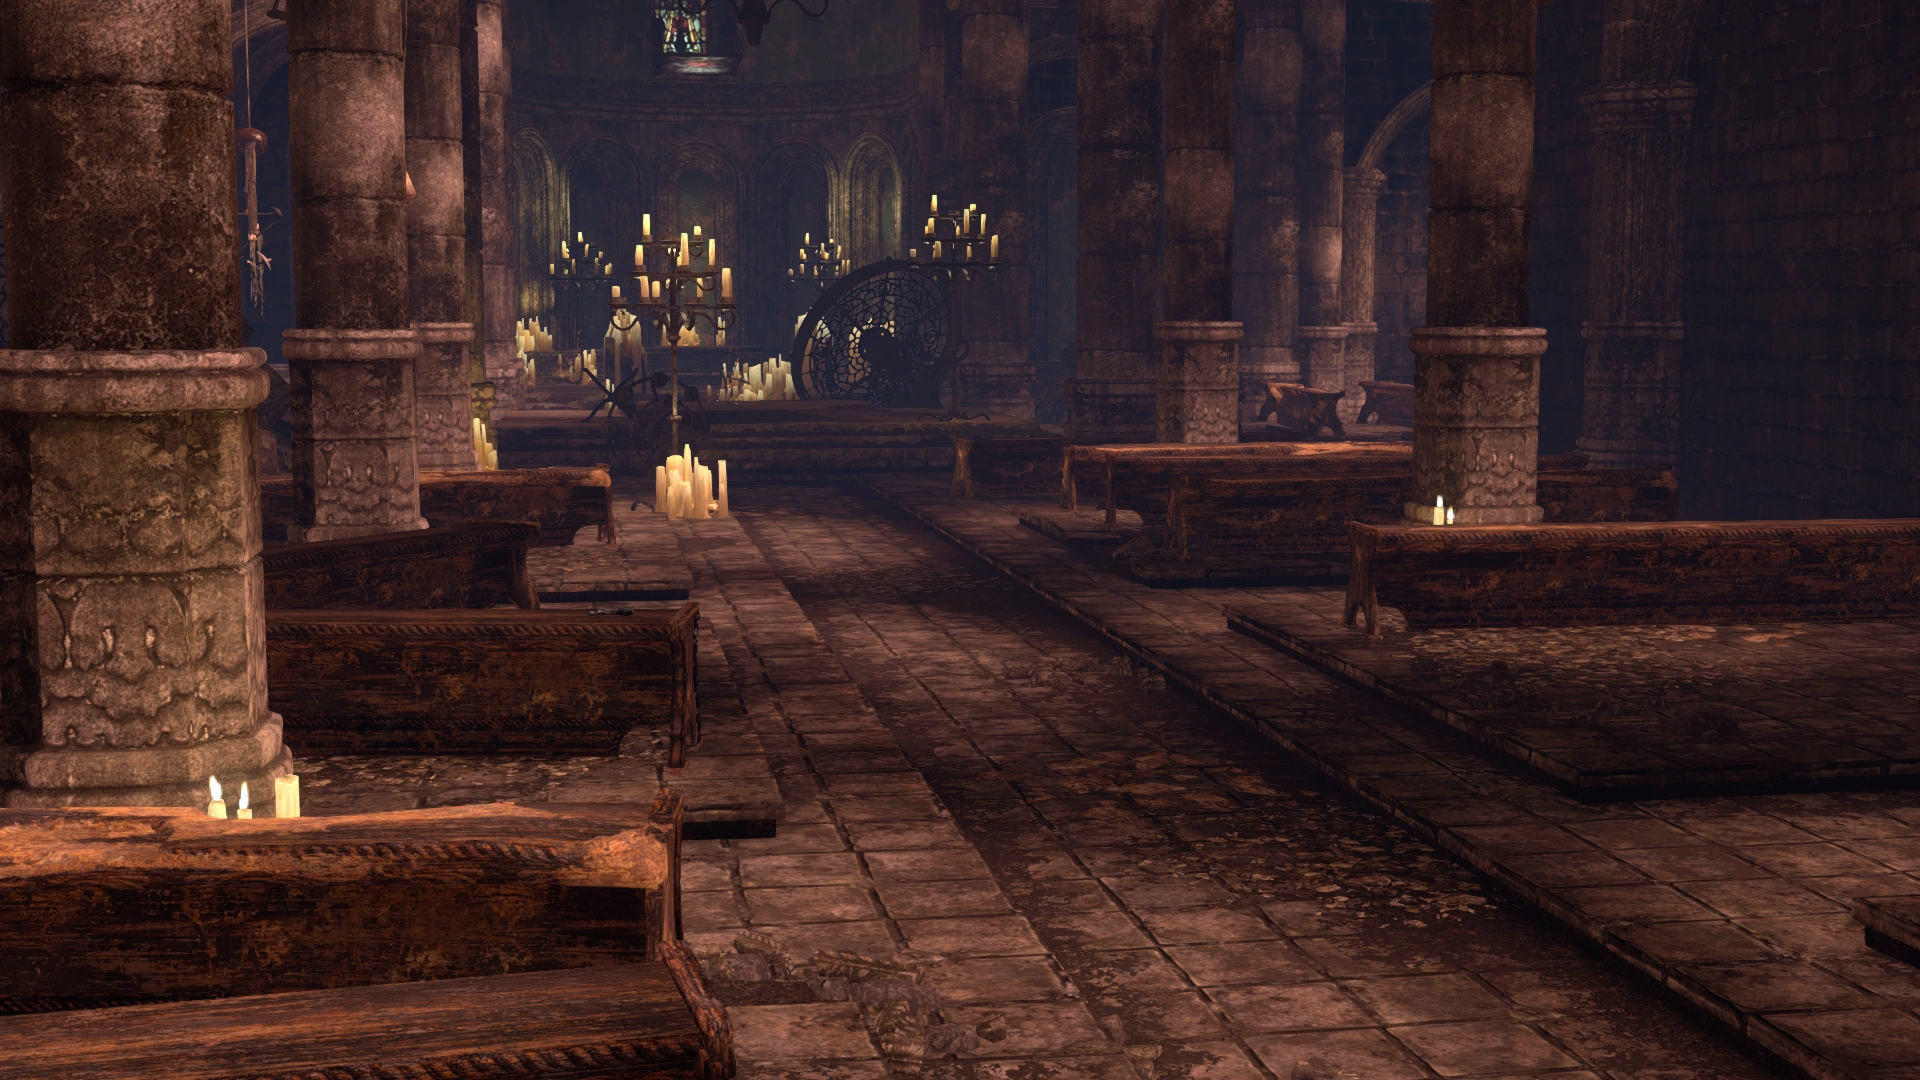
The interior of the church.
High above the altar is a single stained glass window, depicting the Sacred Heart. To the left and right of it, in the wing areas, are two large keys set into the walls. The keys could be lowered, which opened the glass window, revealing a hidden gallery. The gallery had another series of windows, one of which also depicted the heart, and when opened looked over the largest mausoleum in the graveyard.
Graveyard[]
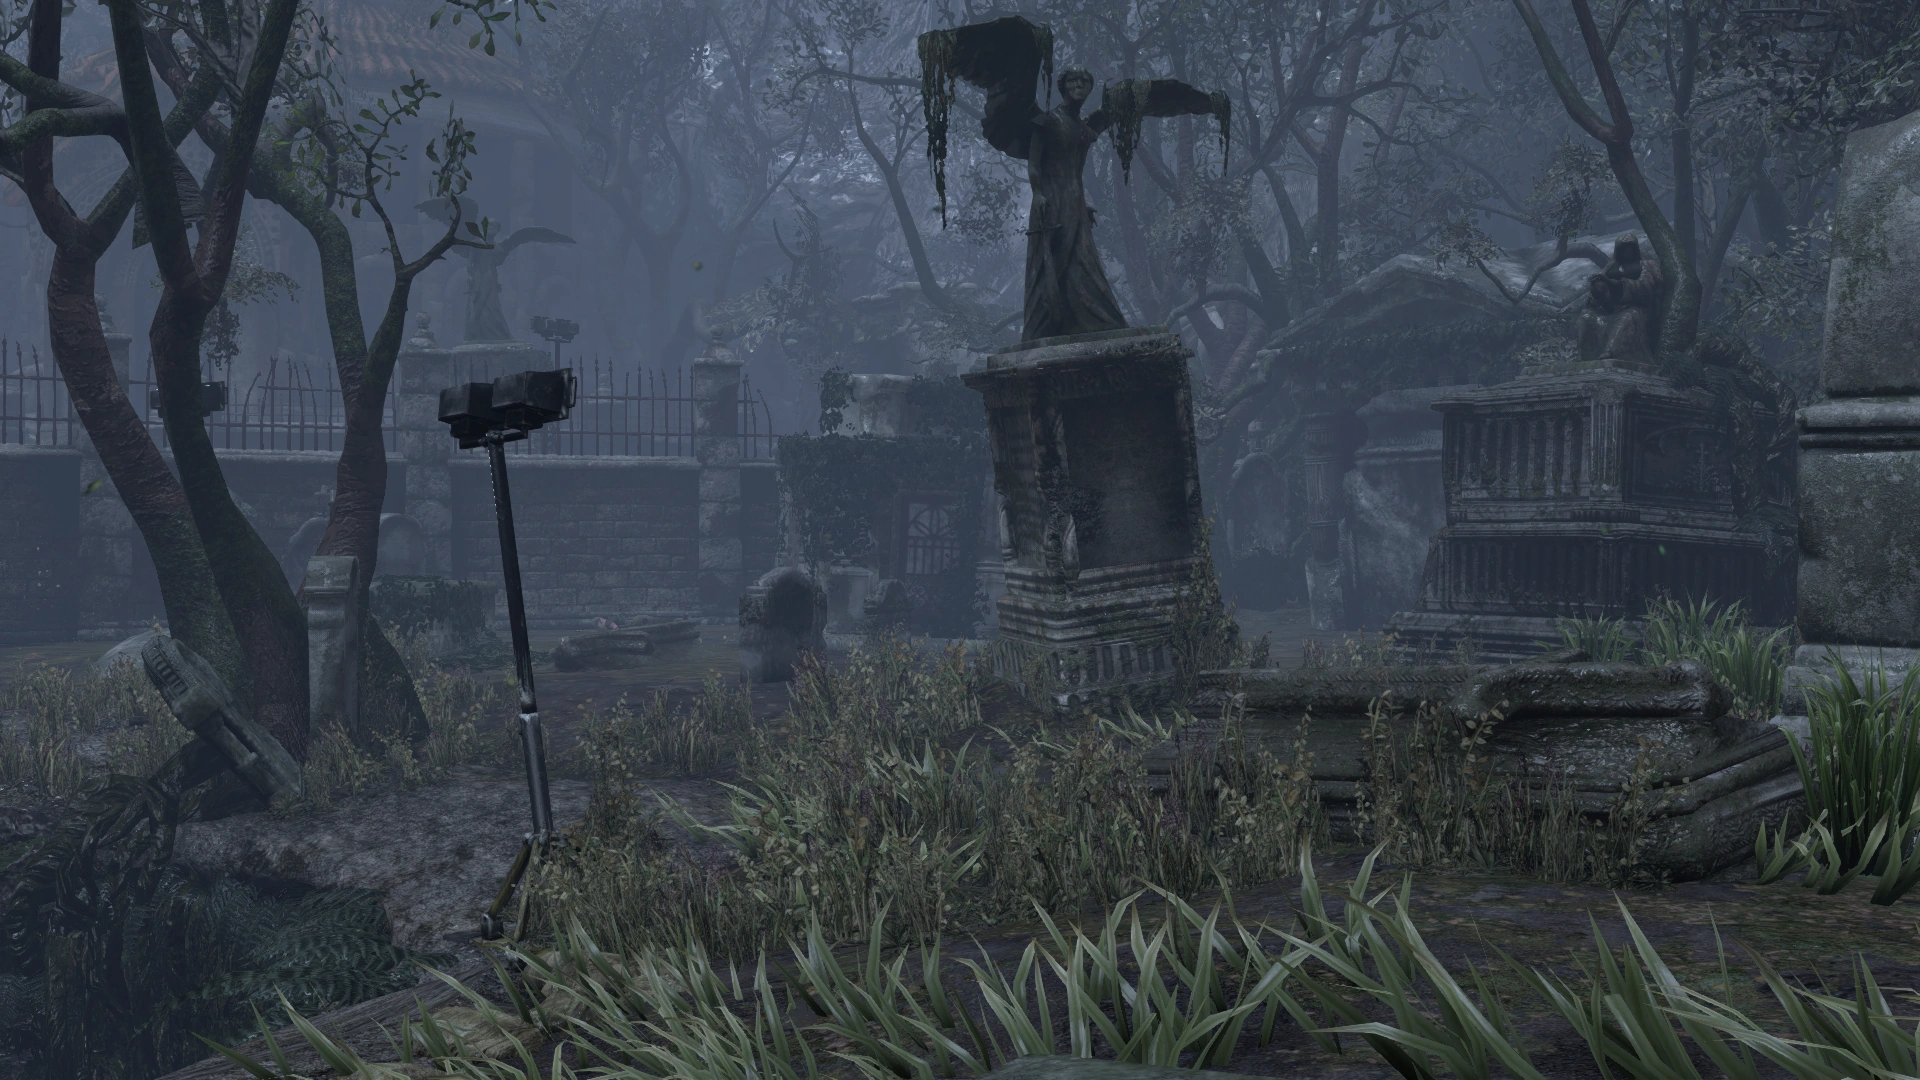
The monastery graveyard.
The graveyard is located behind the church and is filled with sarcophagi, gravestones, and mausoleums. It consists of a large open space, with a recessed area in between two strips of land, with each part containing a gate leading to an area on either side of the church. The recessed section has a large pit in the center, leading directly to the El Dorado cavern. The largest mausoleum stands on the left, near the back of the cemetery, with the Sacred Heart depicted on the roof. It is largely empty inside, with a series of round switches set into the walls at fixed intervals being the most notable feature. Each switch can be rotated, and when all are in the correct position they unlock a secret passage to the treasure vault.
Gallery[]
")
")
")
")