Sanctuary? is the thirteenth chapter of Drake's Fortune. Nate and Elena searched the monastery for Victor Sullivan.
Story[]
Who Made This?[]
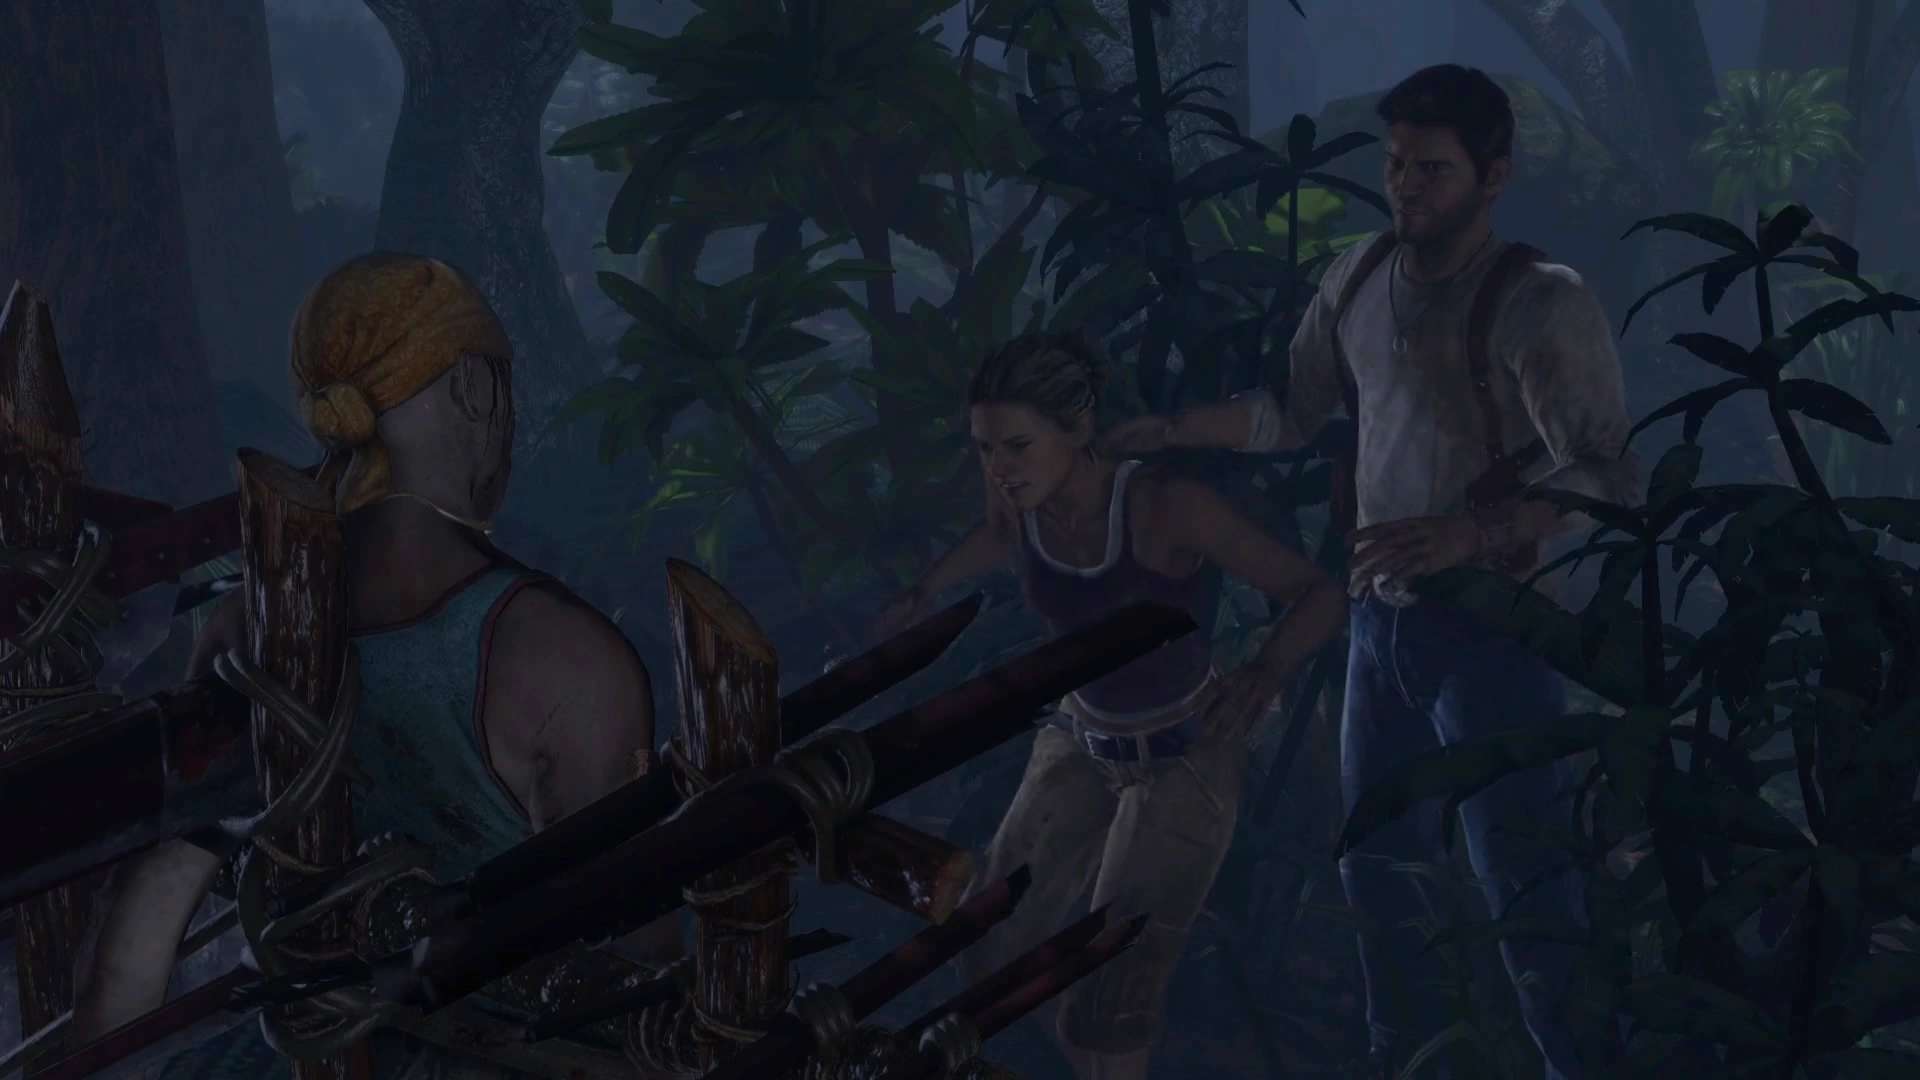
Elena and Nate stumble into a dead pirate.
Nate and Elena arrived at the monastery, where they faced a few more pirates. Soon after, they came across the body of one of Eddy's pirates impaled on one of the spike traps that Nate first encountered back on the island. This left Elena to wonder if it was the Spanish who had set them up hundreds of years ago to protect their gold. After taking a closer look at the spikes, they quickly realized it was not the Spanish, as the trap contained parts from their wrecked plane, indicating that they were made very recently by an unknown party.
Not making any sense of it, Elena began to question why Eddy or Navarro's men would set up these kinds of traps when they would be at risk of triggering them. However, it was clear that they would not, as Nate discovered some humanoid footprints below him, and figured that something had been chewing on the dead pirate. Once they took notice of the deathly silence around them, the two feared that they were probably being watched, but put the thought out of their minds.
They continued their venture through the eerie island, fighting through several of Navarro's mercenaries, shortly before reaching a large courtyard within the monastery. They began to have bad feelings about the place and insisted they find Sullivan as quickly as possible, then leave. At this point, they faced a huge group of mercenaries within the labyrinth of paths. After finding their way to the next courtyard, they then had to clear another large wave before they could enter the library.
Dead Man Talking[]
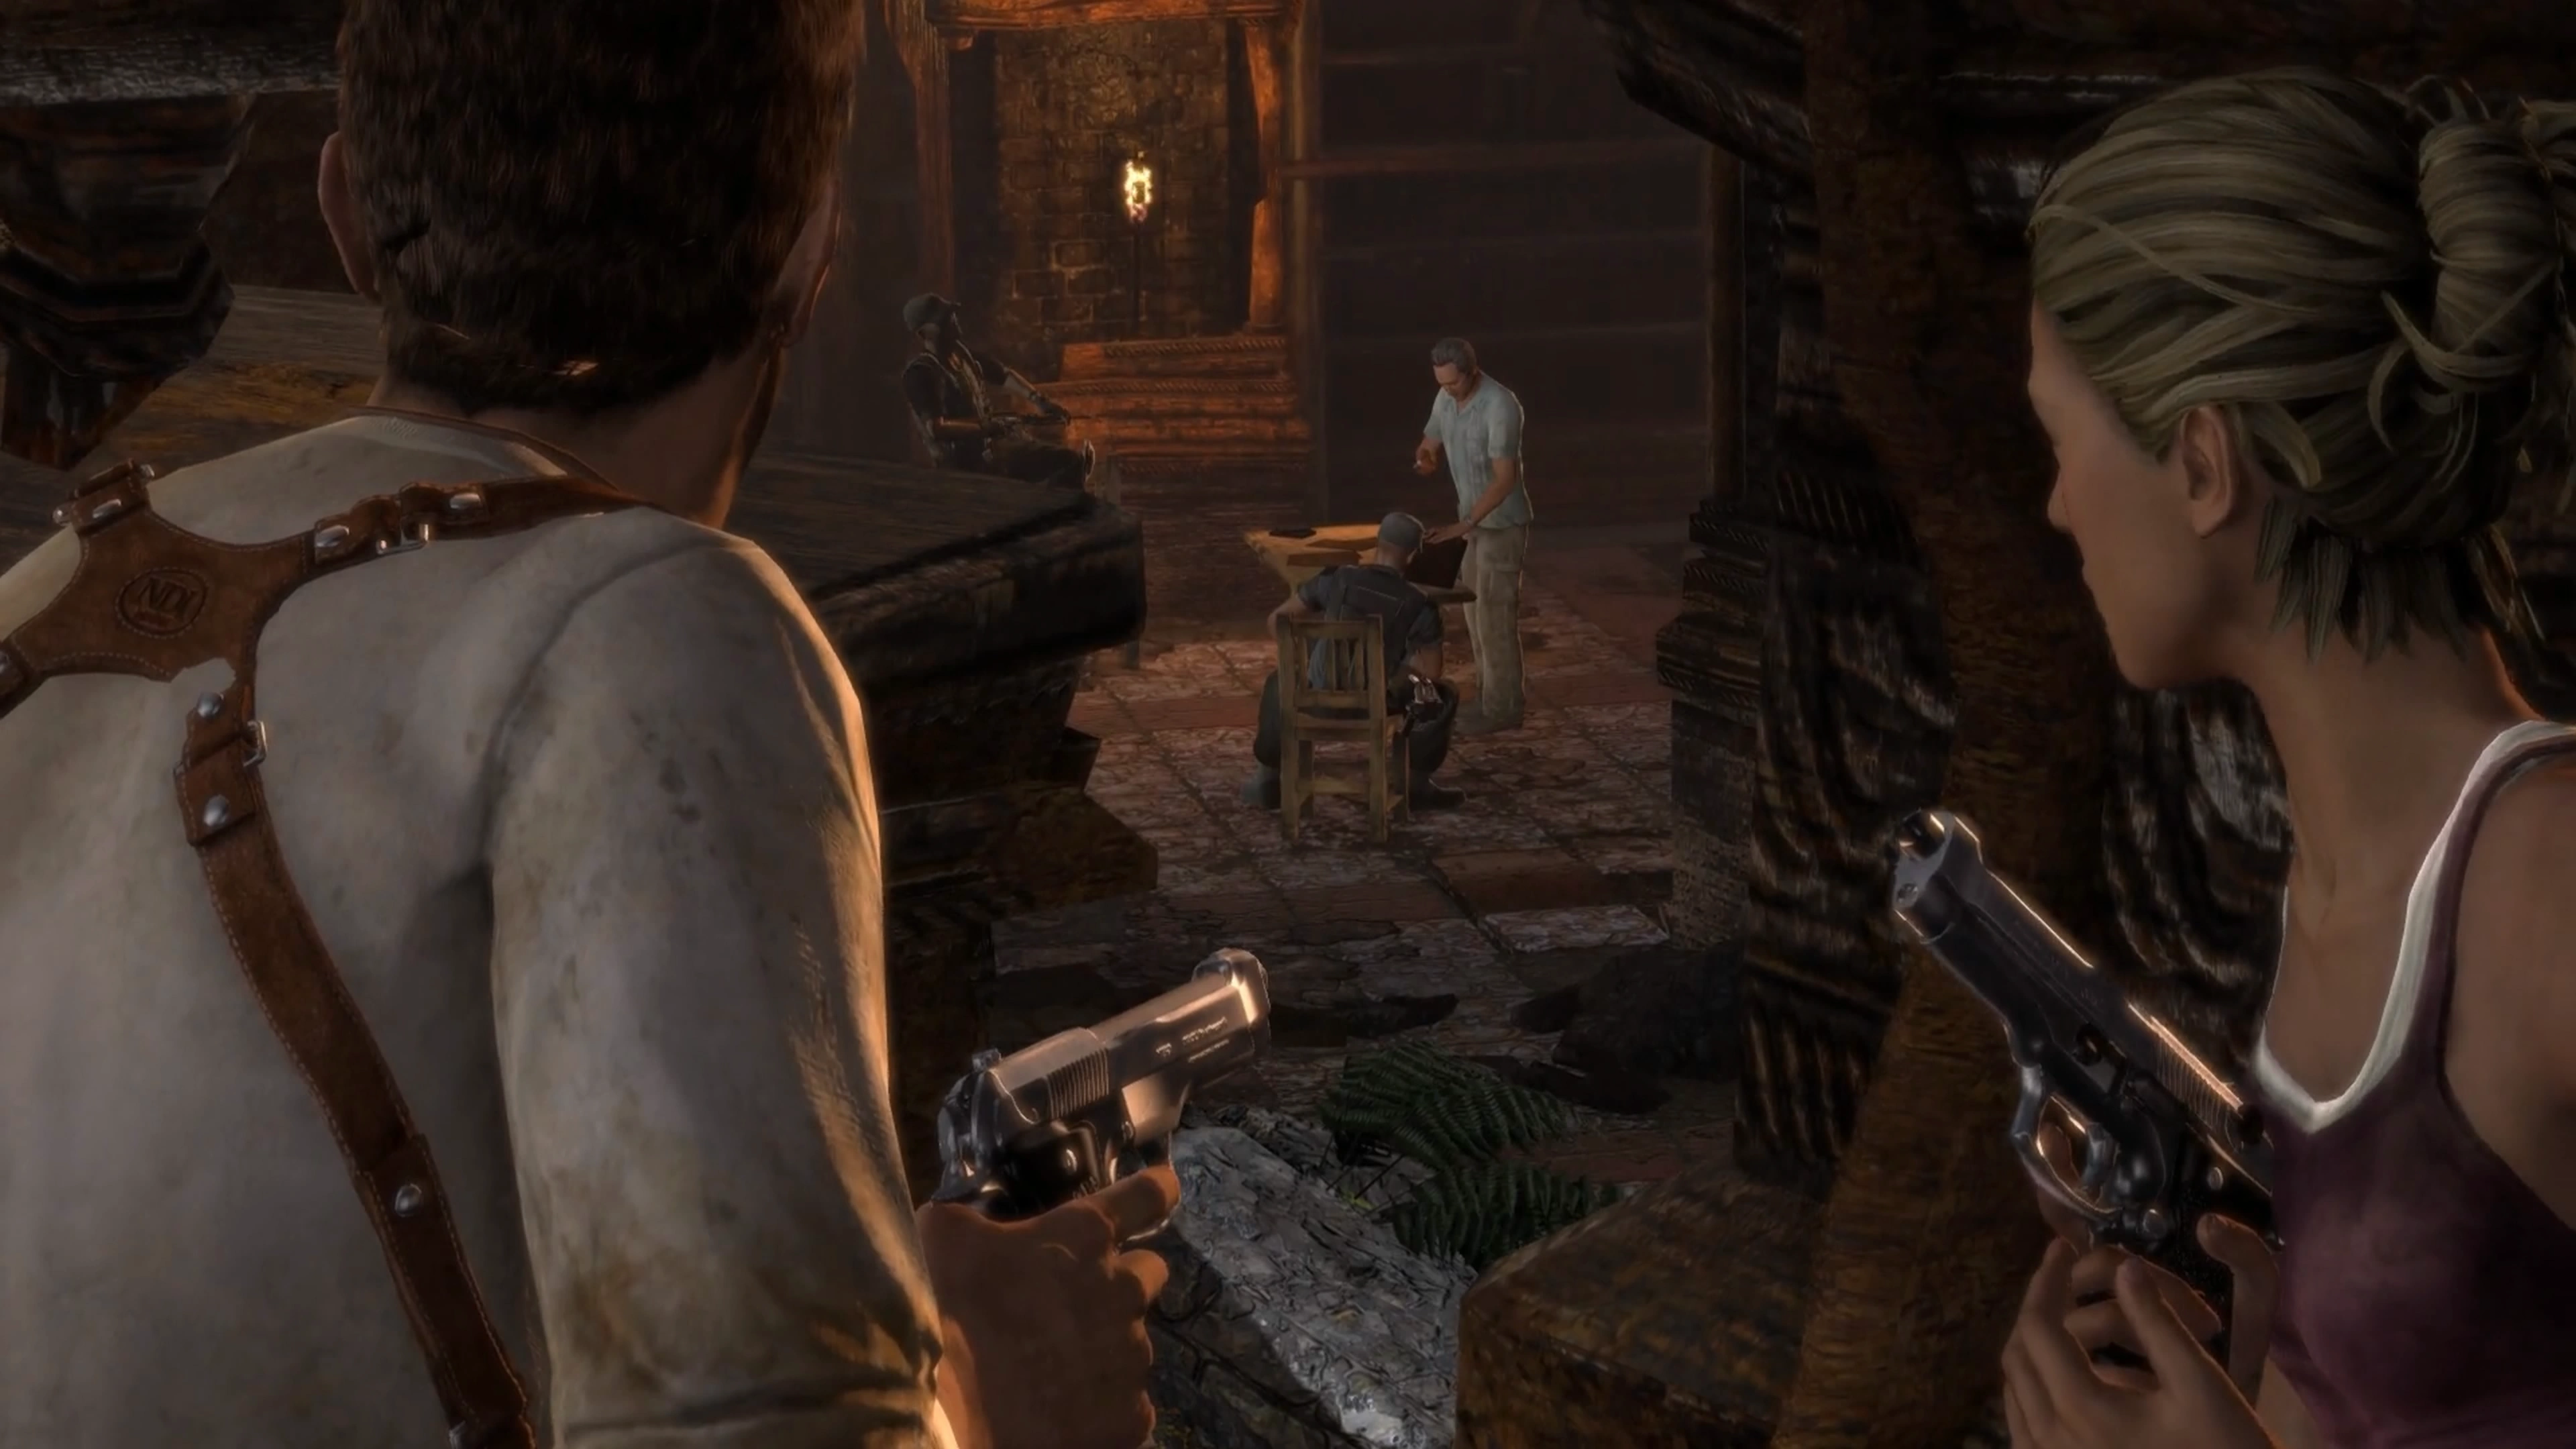
Nate and Elena eavesdrop on Sullivan's conversation.
Rather than walk right in through the front door, the two decided to scope things out by entering through a large hole on the side, where they got a good vantage point of two mercenaries talking with Sully. Upon listening in, Nate and Elena overheard that their boss was waiting on results, and within seconds, the two were spotted. After taking down yet another group of mercenaries, the two confronted Sully about the chain of events. Sully surprised the two when he showed them the diary of Francis Drake, which stopped the bullet from actually penetrating him. He then explained to Nate that Roman and Navarro have been making him translate the books in the library, looking for clues to the treasure's whereabouts. Deciding to buy time until Nate arrived, he had sent them chasing a red herring on the other side of the monastery.
Awkward Reunion[]

The symbol to the vault.
As they took a peek at the diary, Sully pointed out a symbol that the Spanish used to mark their secret vaults, which meant that the El Dorado treasure was hidden within the very monastery they stood in. By finding the symbol, they would find the vault. After assuring Elena that they would not leave her behind again, the three decided to go for the treasure.
Nate took notice of four statues placed on four different structures, forming a puzzle that had to be solved. Upon solving it, he opened up a secret passage that led down into another library. Nate then noticed something on the wall and pulled out Drake's diary, turning to a page that read, "The inverted torch leads to the land of the dead."
Watch Your Head[]
By inverting the direction of the two torches, he opened up another passage, this one leading to the land of the dead, which was a labyrinth of catacombs beneath the monastery. Before heading down, Nate told Sully and Elena to wait in the hidden room where they would be safe, as Roman and Navarro were unaware of its existence. Sully gave Nate his walkie-talkie to communicate with them, and Elena warned him to be careful. They closed the door back up, and Nate began heading underground.
Walkthrough[]
Once you are off the jet ski, head around the corner and kick open the wooden door. Quickly take cover behind the door, as a few of Eddy's pirates will immediately attack you. Once they are down, go across the bridge to kick down a metal gate, then hike your way up the old stairs. After the cutscene, you can find a 92FS - 9mm slightly off the path, to your right. This is a more powerful and accurate version of the PM - 9mm pistol, most notably with a much larger magazine capacity.
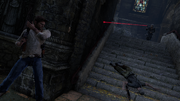
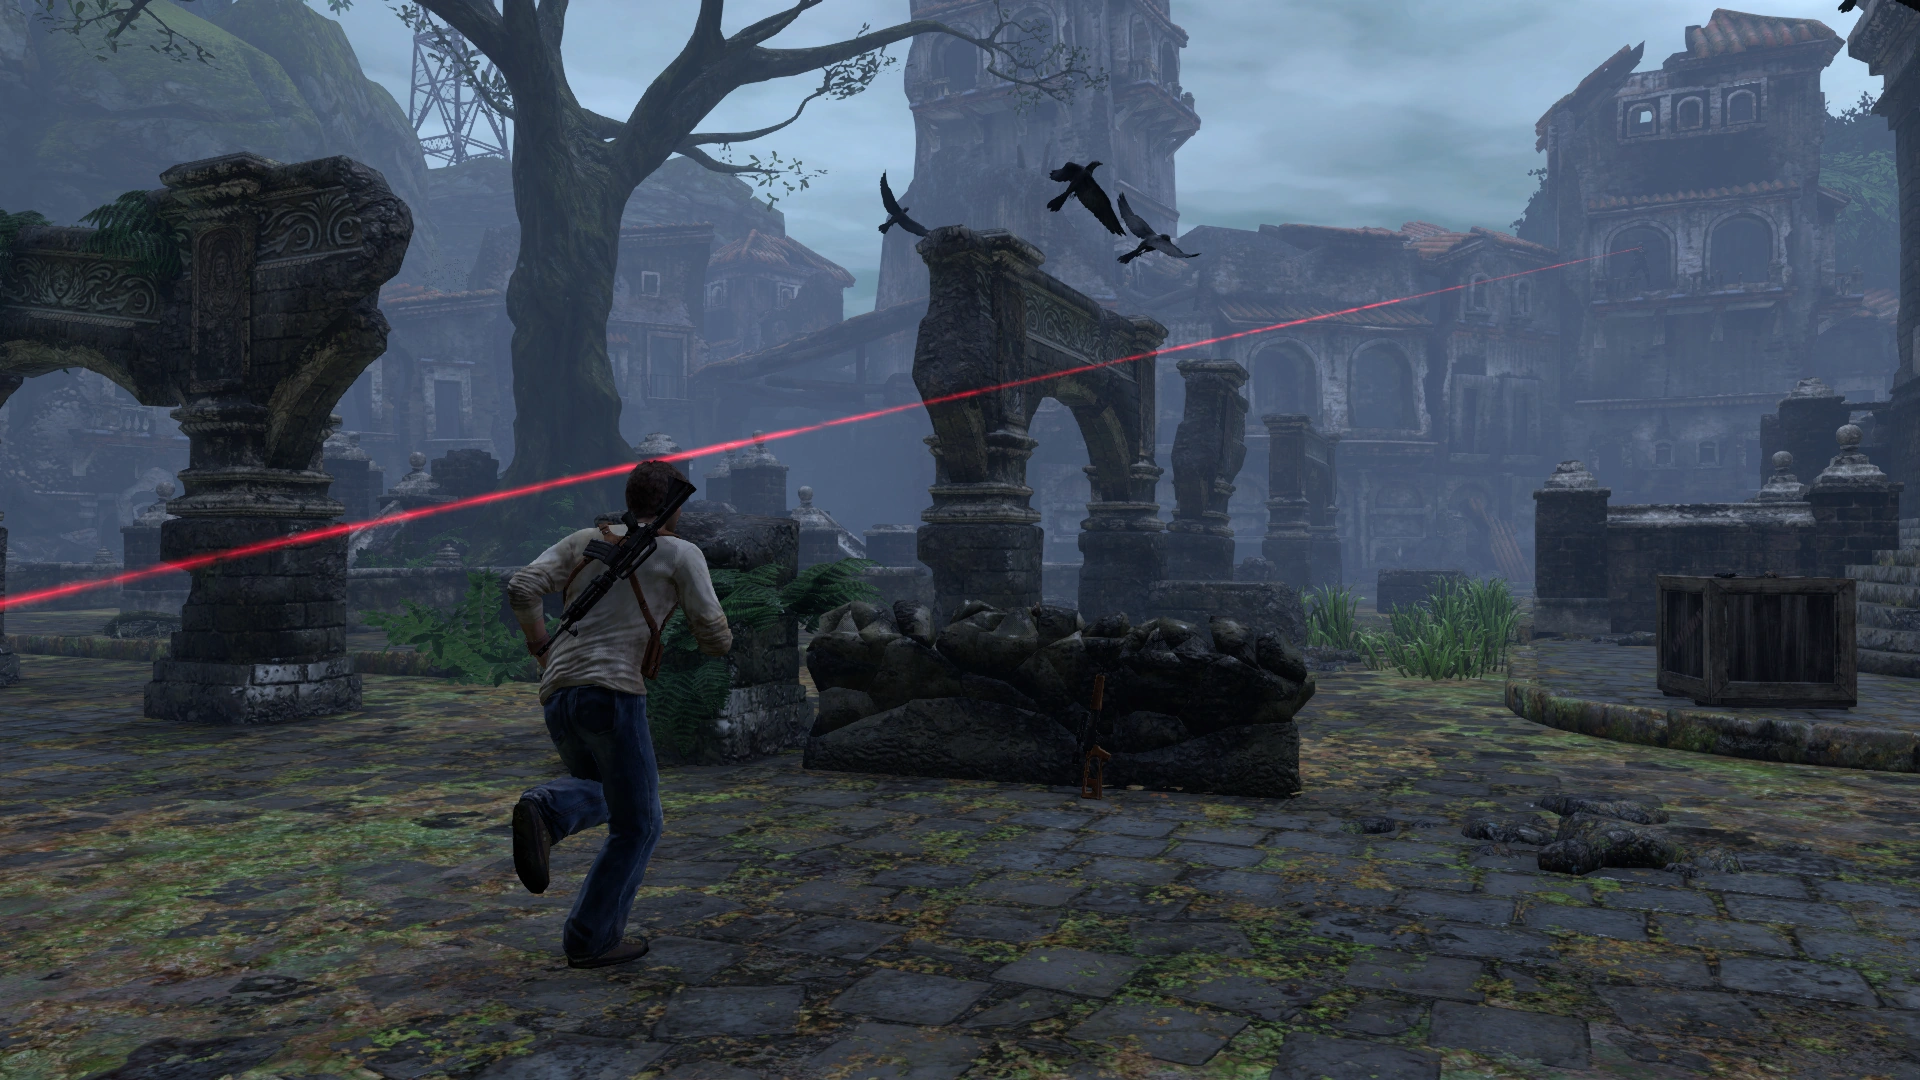
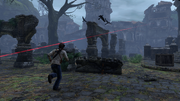
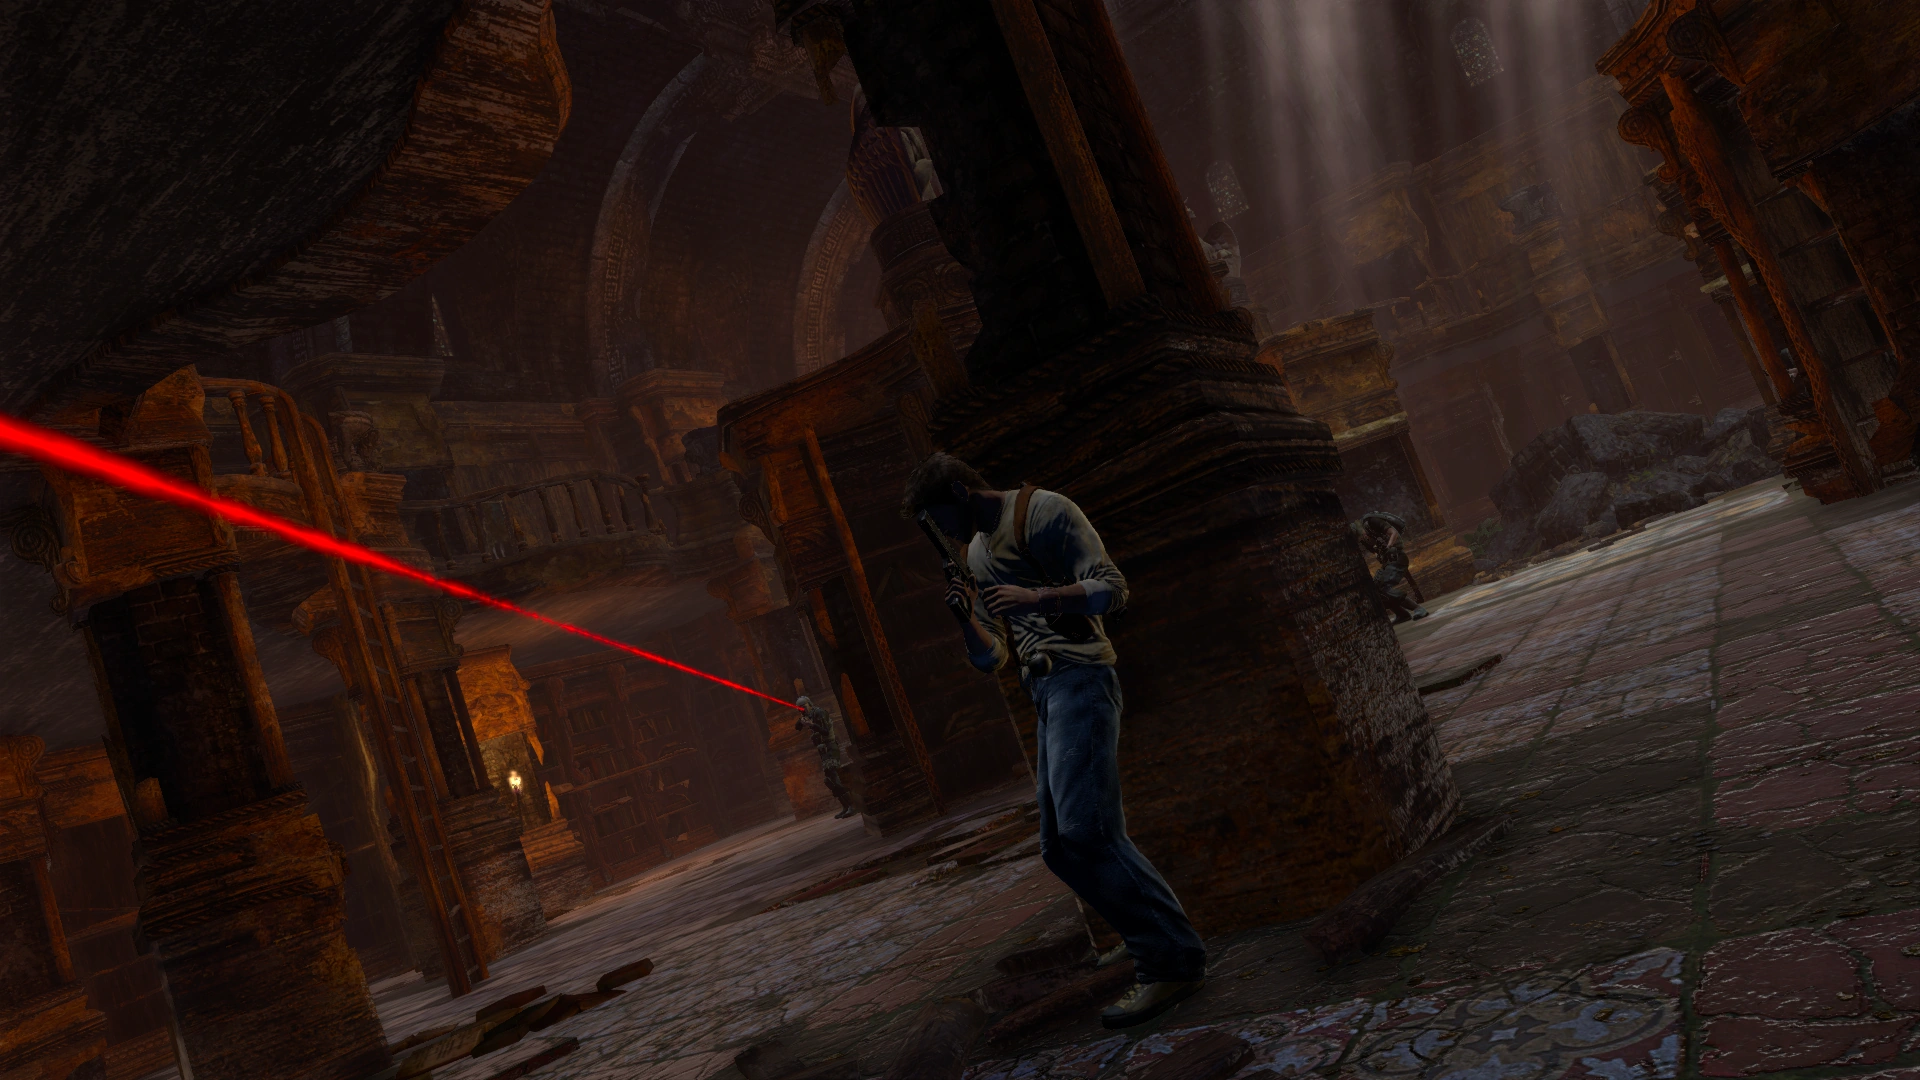
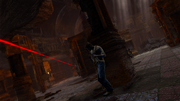
Upon ascending the next staircase stairs, you will start encountering mercenaries, who will have more armor than the pirates. Some of these will sport the Desert - 5, a stronger variant of the powerful Wes - 44 revolver. Mercenaries using these will have laser sights, and giving them too much time to aim will result in an instant kill. Rolling will force them to re-aim, as will putting obstacles between you and the laser to break line of sight. Quickly take them down and then continue moving along until you approach a short cliff. After the cutscene, deal with the few mercenaries here, and then make sure to stock up on fully loaded weapons.

Nate takes cover from a laser sight.
Proceed into the next courtyard, where you will encounter an ambush upon moving too far into the area. Retreat to cover at the entrance, which will be blocked, and start with taking down the enemies on the second floor, leaving Elena to handle any remaining. Then, head for the left corridor and take out the mercenaries there, as well as the group in the stairway on the left. Some of these will be wielding a more powerful shotgun—the SAS - 12. Head up the stairway and turn right to clear out the last of the mercenaries in here. In the same room, leap to the wooden ledge beneath the door to the second floor. Work your way across the pillars to reach the wooden floor across the room. Kick down the gate, then turn left to drop down into a section of the area behind the courtyard. To get Elena to rejoin you, aim at the large pile of powder kegs behind you to blow out the wall, if you happen to be out of ammo there is a spare 92FS - 9mm lying in a corner.
Nate runs to cover.
Make your way through the nearby gate and winch set-up with Elena's help to gain access to a large plaza. There will be a nearby Dragon Sniper, allowing you to easily handle the two snipers using laser sights. Use the remaining ammo to take out any other mercenaries, and then take down the remainder as usual, with most coming from directly ahead. Note that you can find a pair of Mk-NDI grenades in the center of the plaza, next to the great tree. Once all enemies are defeated a second wave will appear, in the form of one lone mercenary on the far right wielding an M79, and a group of three from the far left tunnel, one of which also has an M79. Beware of these, as they will actively move and seek you out, unlike the pirates. Keep in mind that taking one along for yourself might have consequences, as they seriously lack in reload time, despite their power.
Nate faces more mercenaries in the library.
After their defeat, your attention will be directed towards the library building. You will need to enter from the left side. Following a brief cutscene, you will be in for another tough fight. The area consists of a large ground floor, with four book spaces placed equally far apart in the center, as well as some rubble providing extra cover. The second floor consists of a large walkway leading across the walls, with good sightlines on the area below, but comparatively little cover. There are two spots underneath the walkway with extra ammunition and grenades, but it can be difficult to grab due to the many mercenaries down below, including one with an M79. There are only three enemies on the walkway, but the one on the other end will have a dangerous Desert - 5 and a good view of the entire area. He also has a pair of grenades lying nearby.
Statue and torch puzzles[]


Statue puzzle in Drake's diary.
Following the gunfight and cutscene, you will be introduced to a statue puzzle. Your attention will be drawn towards four statues, each placed on a bookcase. By pulling out Francis Drake's diary, you will find illustrations of those same four statues. Each has a corresponding name and direction: Matthew (North), Luke (South), John (East), and Mark (West). The key is to rotate each statue to face their corresponding directions. Etched into the floor is a compass that will help you.
Matthew (the angel) must face north, Luke (the griffin) must face south, Mark (the winged cow) must face west, and John (the eagle) must face east. Once properly done, a bookcase will flip sideways, revealing a secret passage leading down to another library. Once you enter the second library, approach the wall on your right. By bringing out Drake's diary, you will find a page reading, "The inverted torch leads to the land of the dead." This means you must flip over the two torches on the walls to unlock another passageway. The next chapter begins following the cutscene.