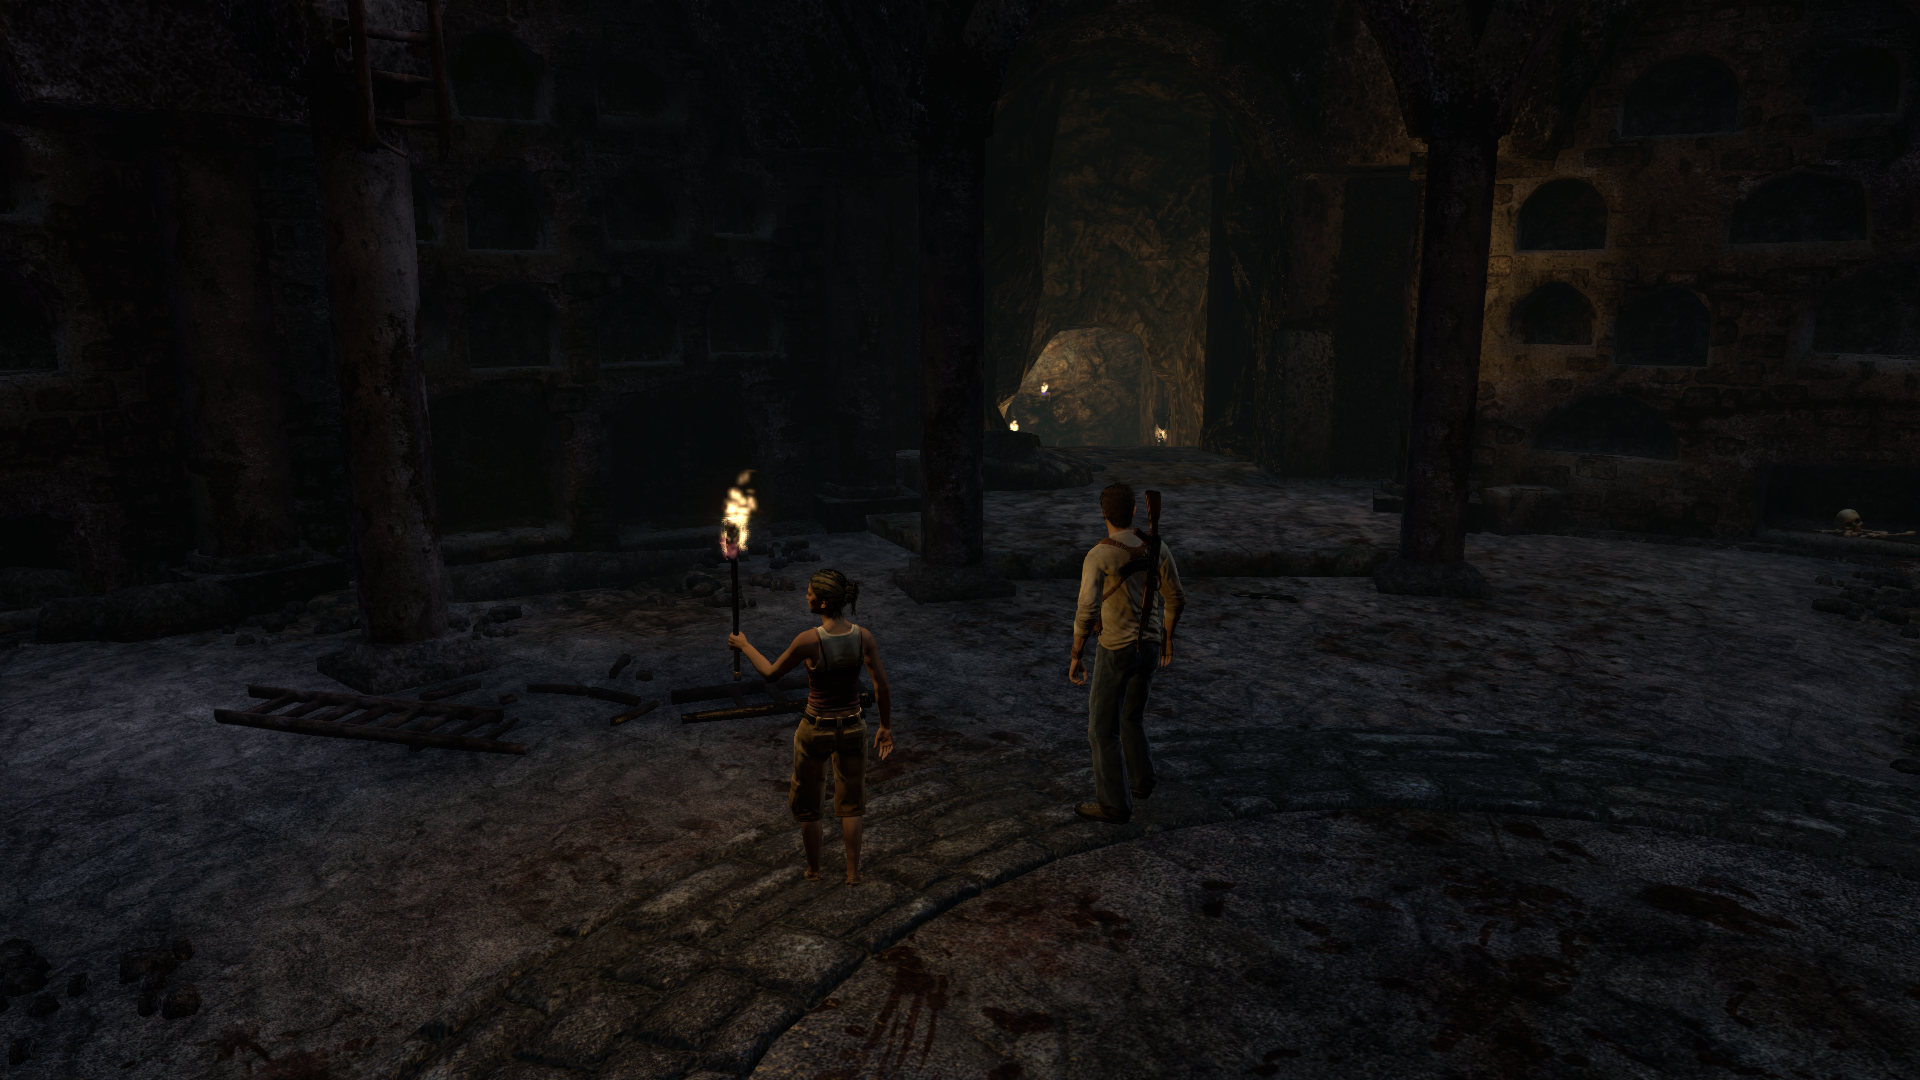
The treasure vault is a location that appears in Drake's Fortune. It is a large labyrinth within the underground cavern in which the Spaniards hid El Dorado. It consists of many stone staircases and wooden platforms, many of which lead to dead ends or drop into the water that covers the floor of the vault.
History
Nate touching Drake's corpse.
Nathan Drake, Elena Fisher, and Victor Sullivan discovered the treasure vault, which was accessed from a secret passage inside the mausoleum within the monastery. Nate and Elena explored the vault, while Sully stayed behind. By following the clues Francis Drake left on his map, they were able to find their way through the maze. They were soon, however, confronted by Eddy Raja and his gang of pirates. After fighting through them, the two eventually reached the heart of the vault, where they found Francis Drake's corpse.
Nate and Eddy fighting the descendants.
While Elena searched for a way out of the vault, Nate encountered Eddy and Prakoso running from the descendants, who soon began swarming the room, with one of them killing Prakoso and soon Eddy, after he and Drake tried to fight them off. With Elena's help, Nate was rescued from death by the descendants, and they both managed to escape the creatures and make their way out of the vault.
Geography
Overview
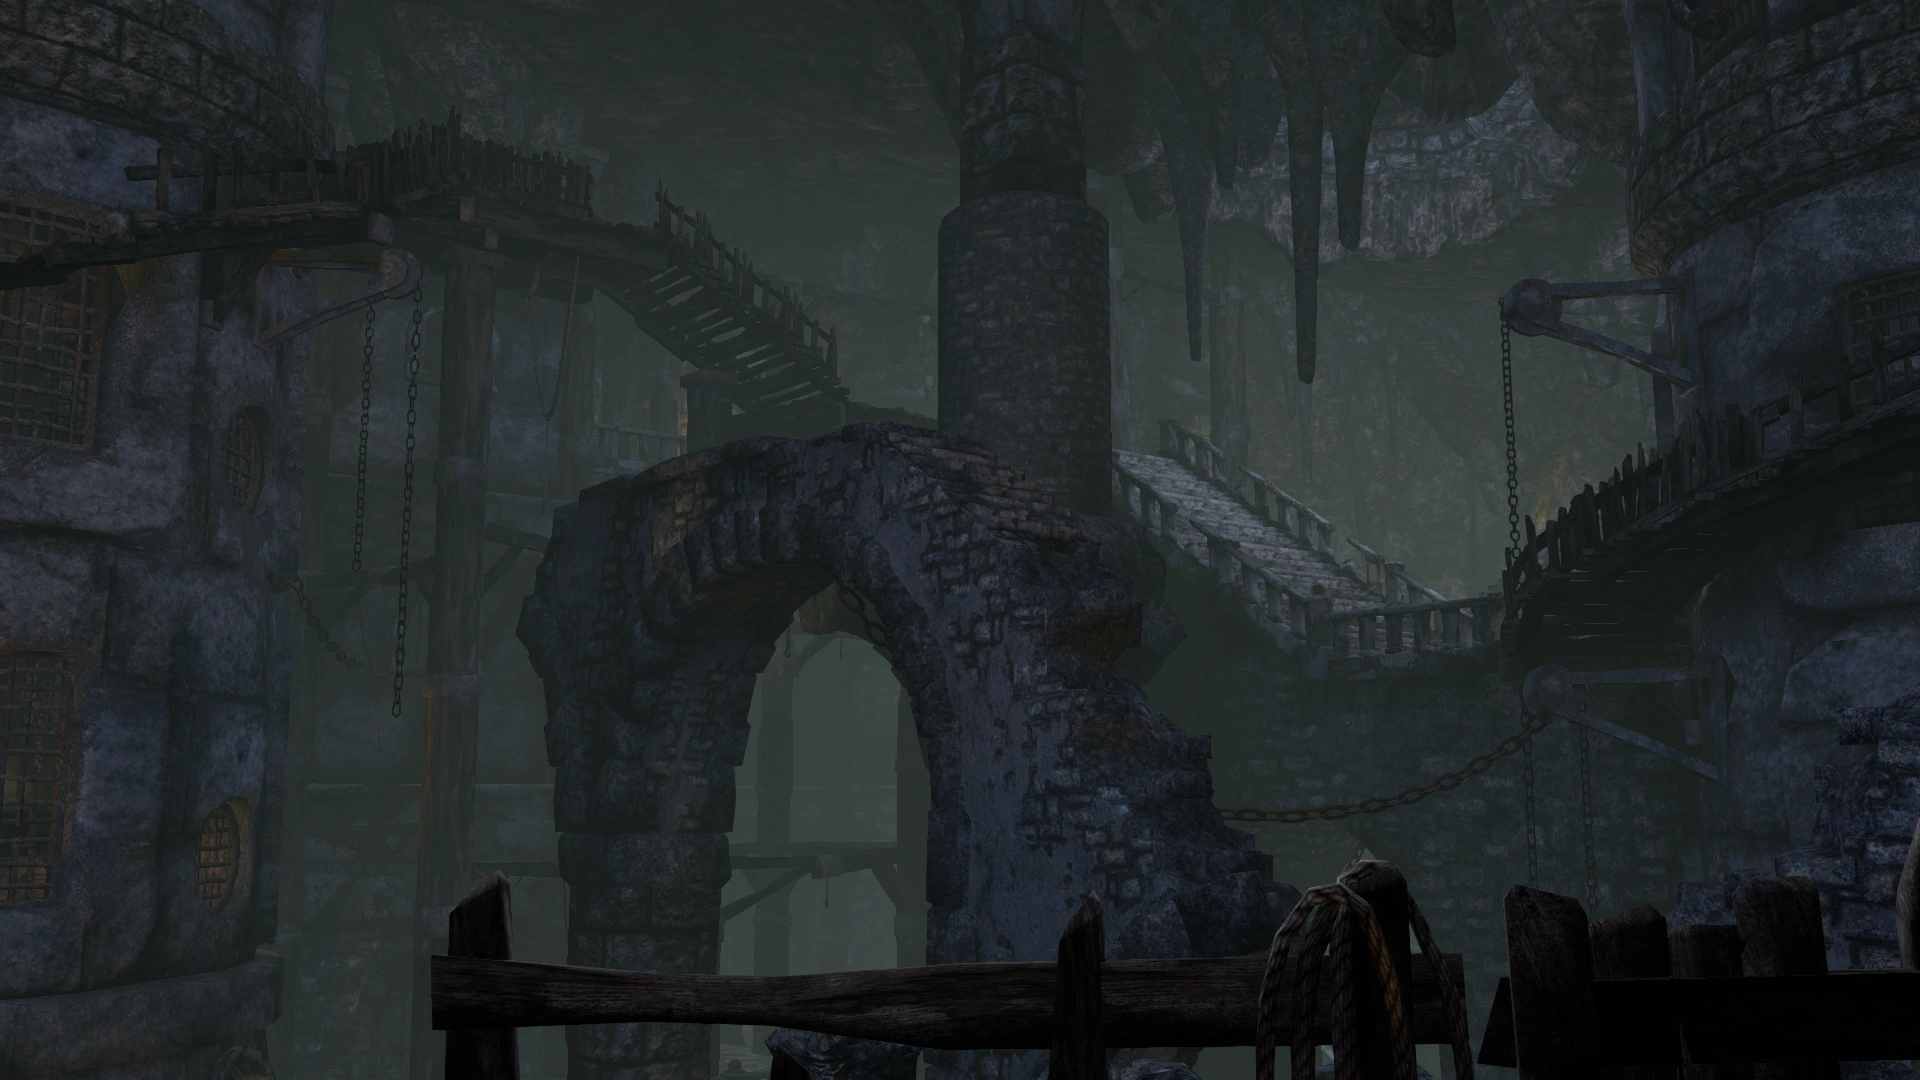
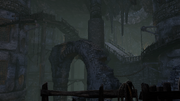
The vault is a large labyrinth of paths divided into two sections, separated by a large wall. Placed throughout the area are gold Roman Numerals engraved into the ground. They are used to help explorers navigate through the vault. Three of these symbols (II, V, VII) are drawn on Francis Drake's map, indicating that those are the correct symbols to follow.
The layout of the vault overall consists of narrow passages with arches underneath them. There are also several staircases, deadly, rocking lanterns (though some remain stationary), ancient pottery, wooden walkways, and a few contraptions. Most paths have railing, which is mostly worn out but can sometimes be climbed over.
First section
A set of staircases.
The first section of the vault is accessed by a tunnel passage stemming from a small circular room that revealed when Nate solved a symbol puzzle in the mausoleum. This tunnel leads out into a large, open space, with a path on each side. The one on the left is completely destroyed, but the fully intact path on the right is where one will find the first Roman Numeral, which reads V. By following the path, one will find another Roman Numeral (II), pointing left. By continuing along this top path, one will find a staircase straight ahead that is path of stairs that lead upward to where one can find a treasure. The staircase to the left initially had a gap following it until Nate activated the small platform for Elena to cross. This leads to a splitting passage, with the right path leading nowhere, except, in Nate's case, an open window that can be climbed through. The left path leads up some stairs to a large closed gate, blocking entry to the remainder of the vault. By heading down another set of stairs below the V symbol, one will be lead to the aforementioned lower section that has two set of stairs coming in on the right. A symbol at the top of the left side stairs read V again, pointing straight ahead. To the far right of the symbol is one that reads IV, pointing to a dead end.

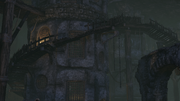
The water wheel.
By following the V, one will be lead down a path that turns right down a set of steps, leading to a IV symbol pointing right. By continuing forward, one will turn left again, going slightly down some stairs that are halted by a tall pillar-like structure, featuring a V symbol at the bottom, pointing upwards towards several handholds one would need to use to reach the top. At the top is a IV symbol that points to the wall on the right. Straight ahead are stairs that lead to a water wheel mechanism, with a II symbol right below it. When activated, the wheel will cause several objects within the vault, such as lanterns, to start moving.
By heading back down the steps from the water wheel, one will be lead to a pillar that has a symbol reading III and pointing left. A chain dangles down from above. By climbing it, one will be able to walk across the top. To your left is a VI symbol pointing straight ahead towards the wall. To the right is a spiky, rocking lantern that awaits, plus a V symbol sits below, pointing straight ahead. The path leads through a small arched opening, and the remainder of the path is separated by a gate blocking the water wheel. Right here is a symbol that reads II, pointing towards the long paths of stairs below. This path leads upward towards a pillar with a lanterns rocking in front of a IV symbol that points to the right. Left of the pillar is a passage with two rocking lanterns that do not move in a non-linear fashion. A large pillar sits left of these lanterns, featuring a III symbol that points to the left, where a wooden platforms awaits, where one can find another treasure.
A passage of rocking lanterns.
After making a careful leap to the left passage, one will continue ahead, passing underneath an arch, towards a wall with a VII symbol pointing right. Stemming from this path is a wooden walkway that features some ropes. It leads around to a set of stairs that go up and then down, leading to two symbols at the end, a II symbol pointing forwards towards the correct path, and a I symbol pointing ahead towards the edge. By making a short leap down to the stairs below, one will be lead to a V symbol pointing straight ahead, following a broken wooden section coming before a long flight of stairs. At the top is a path featuring four rocking lanterns, all rocking in a non-linear fashion. The two middle lanterns, however, are positioned closest to each other. Two symbols await at the end. One reads VI, pointing towards the edge, while the other reads II, pointing left towards the small wooden platform that broke off when Nate stood on it.

Two lanterns rocking over a wooden platform.
Right below said platform is a wooden walkway with two pillars with symbols, one reading III and pointing left, and the other reading VII and pointing right. This wooden platform is held in place by black chains that connect them to the pillars. Following the second pillar are two rocking lanterns positioned perilously close to a pillar that has a IV symbol pointing right. A small wooden platform sits on the left side of this pillar. From here, a simple leap can be made towards the old elevator contraption ahead. When dropped down, it fills in the gap below that Elena was not able to cross.
Second section
The second section contains no traps, but while there, Drake encounters Eddy's Pirates. The path in the second section is much more linear, winding upwards to The Heart of the Vault.
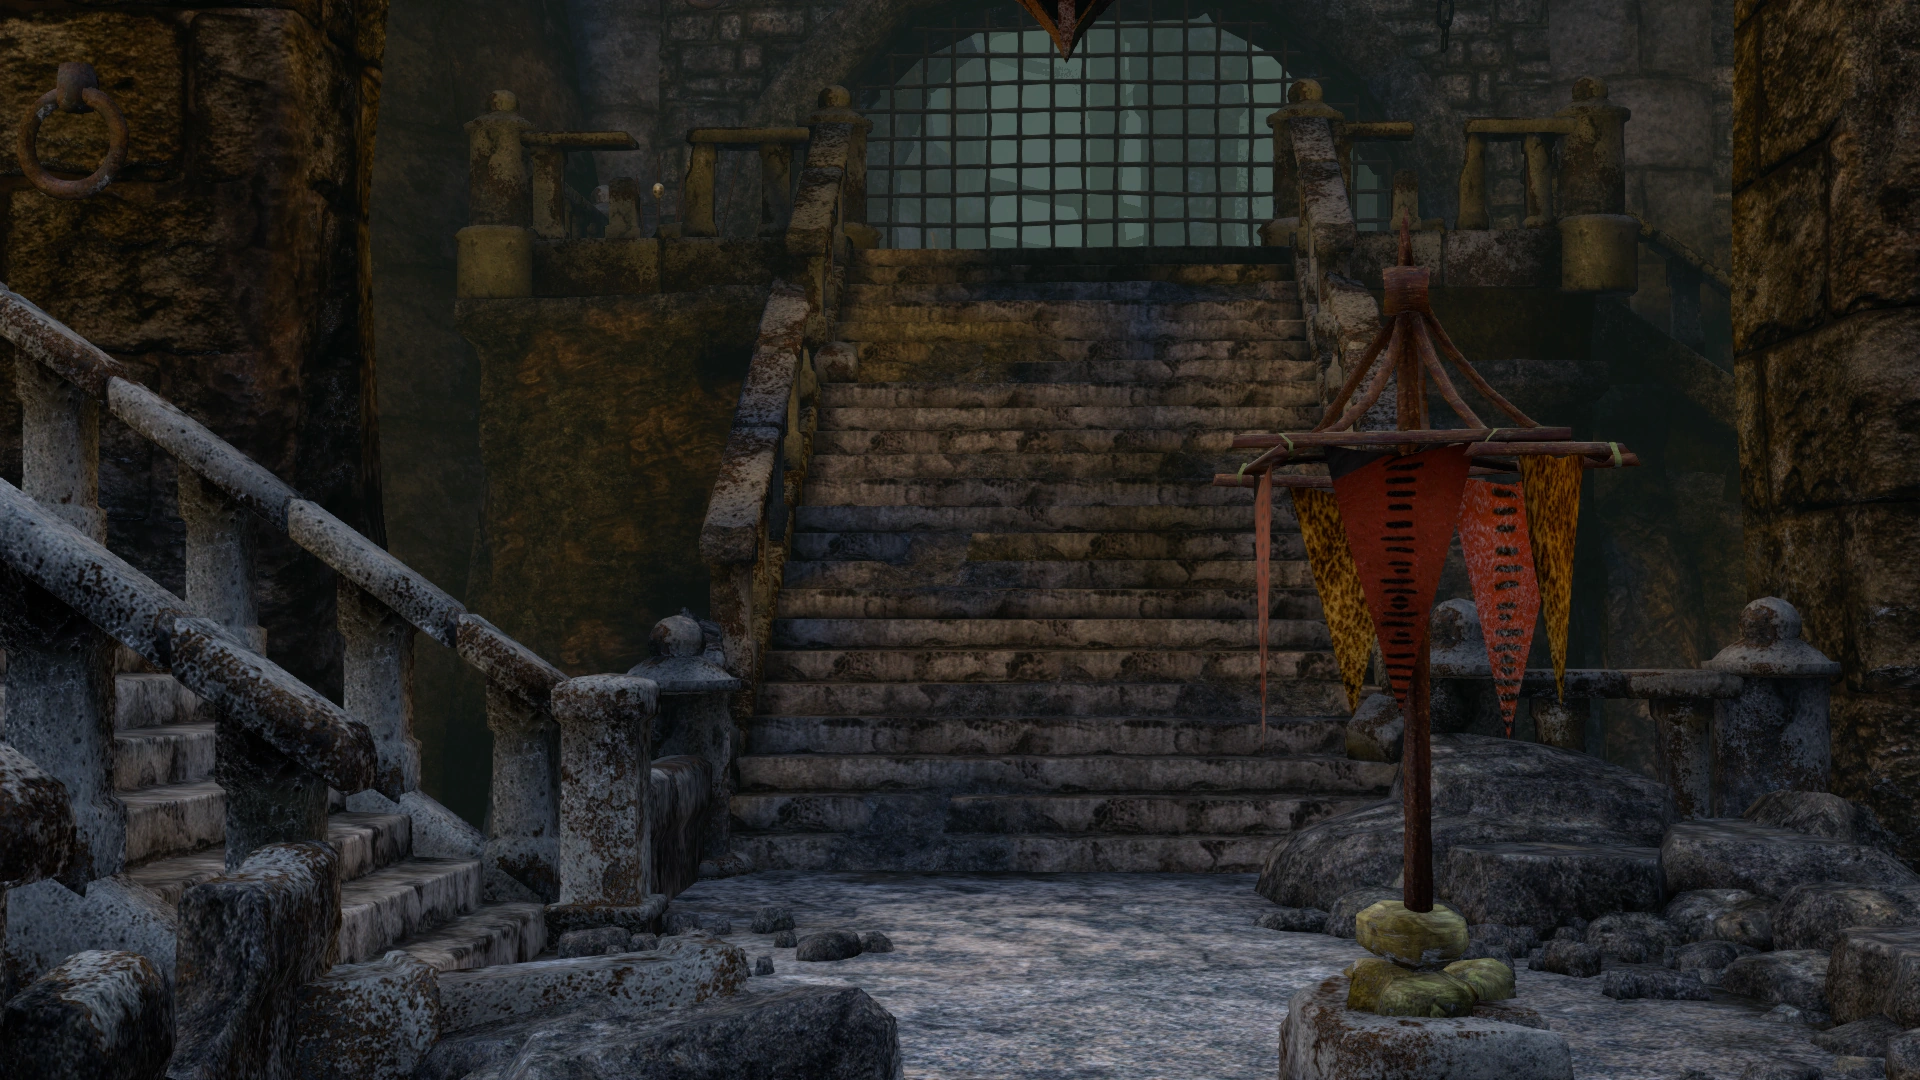
The heart of the vault
This is a room towards the top of the vault where the treasure was hidden, but when Nate and Elena arrive it is already gone, taken by the Germans years ago. The heart of the vault, however is the final resting place of Francis Drake, as Nate and Elena find his body there. This is also where Nate first encounters The Descendants. There are two exits from the heart of the vault, one leading back to the main vault, and another leading to the German Submarine Bunker.